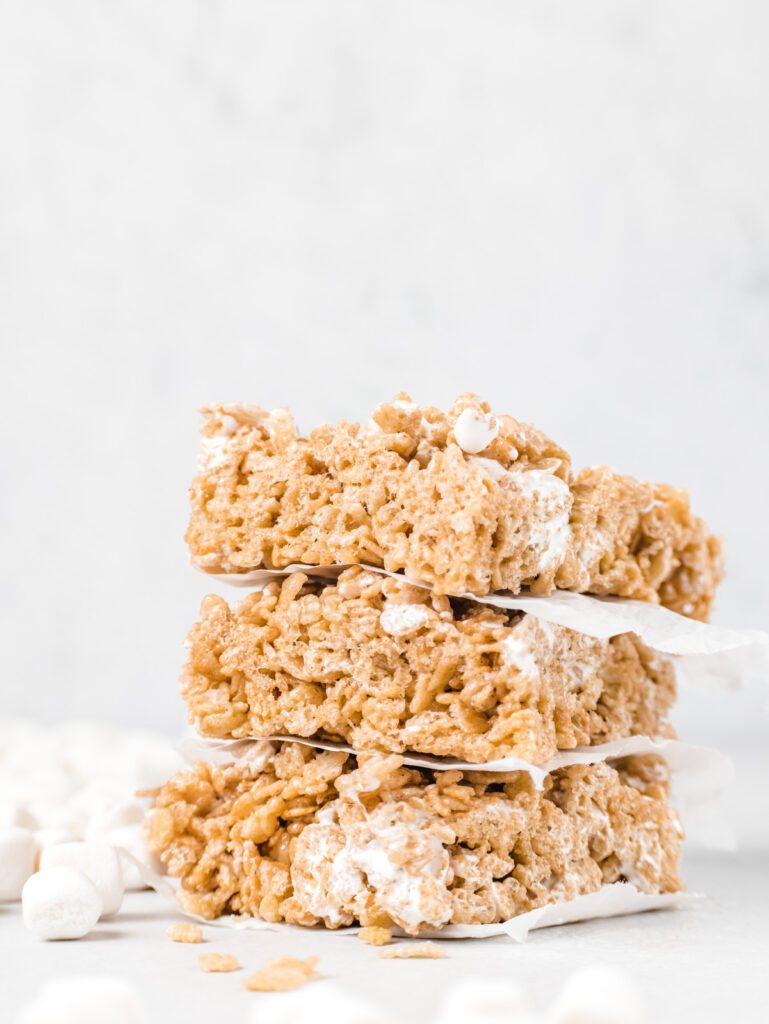
These Brown Butter Rice Krispie Treats are a sophisticated spin on a completely classic childhood favorite! With a nutty browned butter base, a hint of vanilla, a swirl of marshmallow creme, you can feel proud to serve these treats to kids and adults alike!
We have all had a foil-wrapped Rice Krispie Treat thrown in our lunch box. And there’s nothing wrong with them, let’s be honest. But I wanted to kick up this recipe to the next level.
The best part of these Rice Krispie treats (or Rice Crispy treats, or Rice Kripsy treats – spelling seems to be a regional dialect of its own!) is they are easy to make in minutes, don’t require an oven, and are a great base of loads of personalized mix-in options!
What is Brown Butter?
A browned butter is a butter that has been toasted to give extra flavor. Rice Krispie treats are already made with a stovetop melted butter, so we’re just expanding that concept to give a butter a little boost.
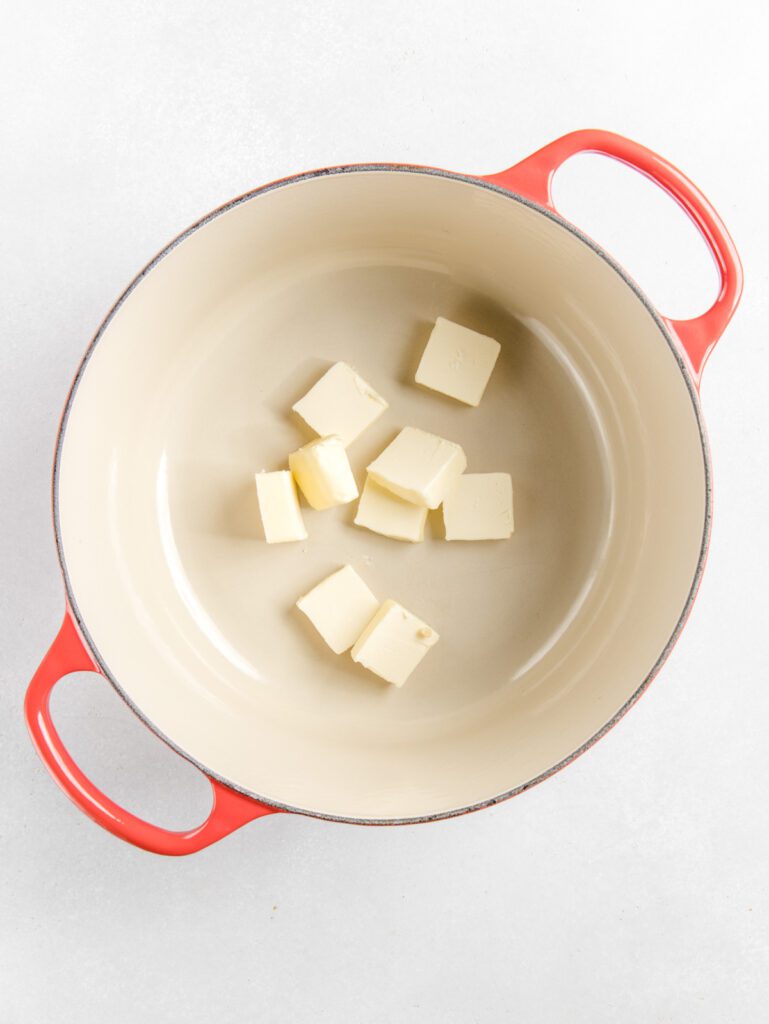
I prefer using a lighter colored pot because it’s easier to see the butter as it darkens (a large, wide pot is also good for stirring in the cereal later down the road!)
Place your butter in the pot and let it simmer over medium-high heat. Keep swirling as it heats. You will first see the butter froth up and hear a crackling sound. This is the water in the butter evaporating out.
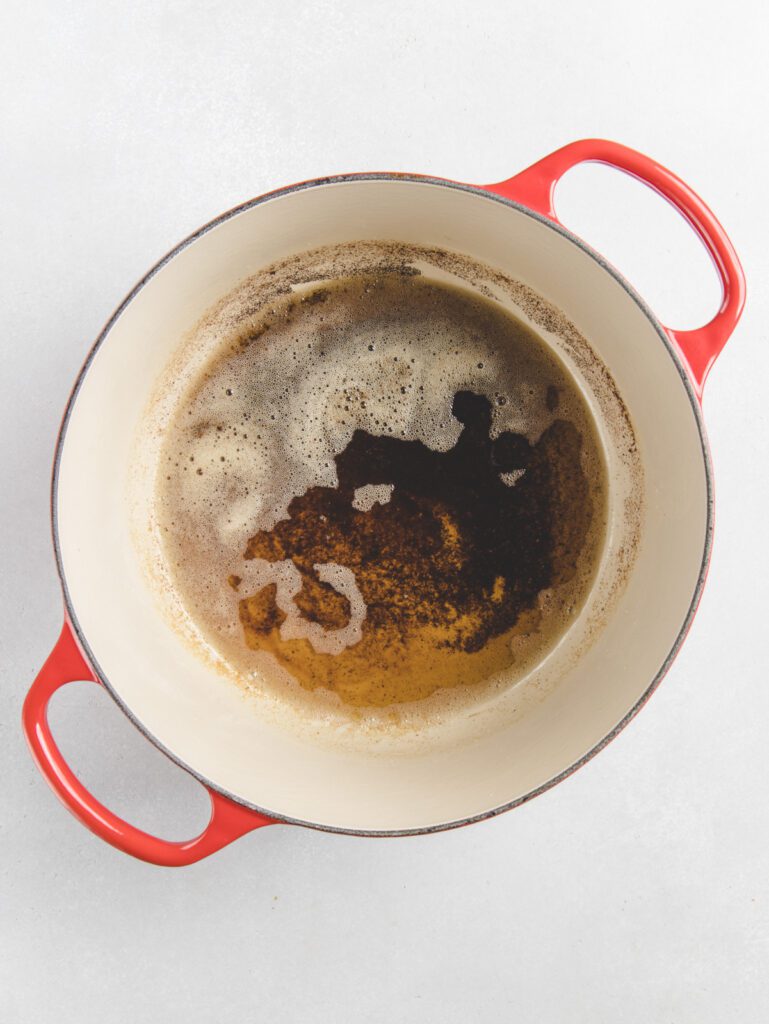
Then, you will start to see the color of the butter turn golden brown and start to smell nutty. Resist the urge to stop now, keep swirling another minute or two until you see golden brown flecks of butter form on the bottom of the pan. You want as many flecks as possible without getting black bits! Black is burnt and not so delicious.
Picture a piece of perfectly toasted bread. That is the color you are looking for! That is the fat in the butter toasting to give a lovely nutty depth of flavor. From here, you can continue on with the remaining steps right in the same pot. (Heaven knows I love a one-pot treat!)
Next-Level Treats
Besides the brown butter base, there’s a few other updates to the “classic” recipe I’ve made here. A higher ratio of butter makes these treats a bit more supple.
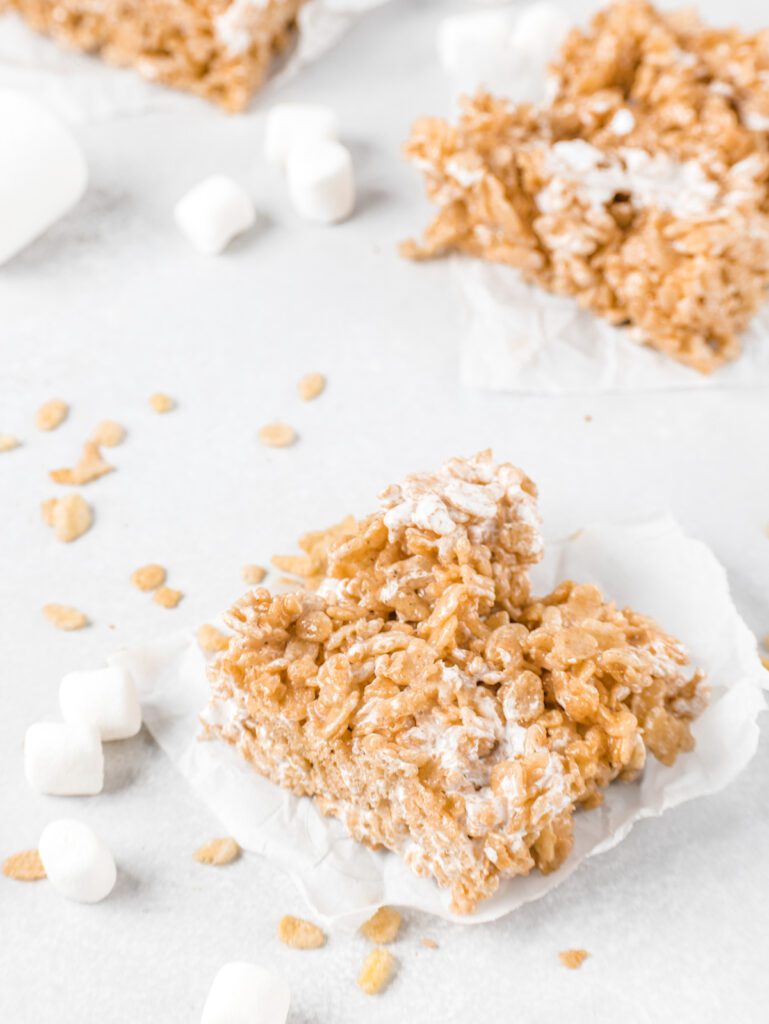
I’ve also included a marshmallow creme swirl! This not only gives a bit of visual interest in an otherwise one color treat, but also you really get that marshmallow texture flowing through each bar, which sadly gets lost in the traditional treats.
The trick is to keep the creme in ribbons, so once you have your mixture made, drop spoonful dollops around the top of the pot and just stir a couple of times – just enough to create a few swirls of creme throughout, not enough to fully mix together.
Variations
I love these browned butter Rice Krispie bars because they are insanely easily to personalize! Here’s just a few suggestions, but let your imagination run wild!
- Gluten-free bars: Easily make these gluten-free by using a gluten-free cereal brand.
- S’mores: Mix is chopped chocolate and crushed graham crackers
- Variety: Substitute some of the puffed rice with another cereal, like Golden Grahams or Cinnamon Toast Crunch
- Chocolate Peanut Butter: Stir in peanut butter and chopped chocolate. Use a standard peanut butter like Jif or Skippy, a natural nut butter is too oily.
- Flavors: Use a chocolate or fruity puffed rice cereal
Frequently Asked Questions
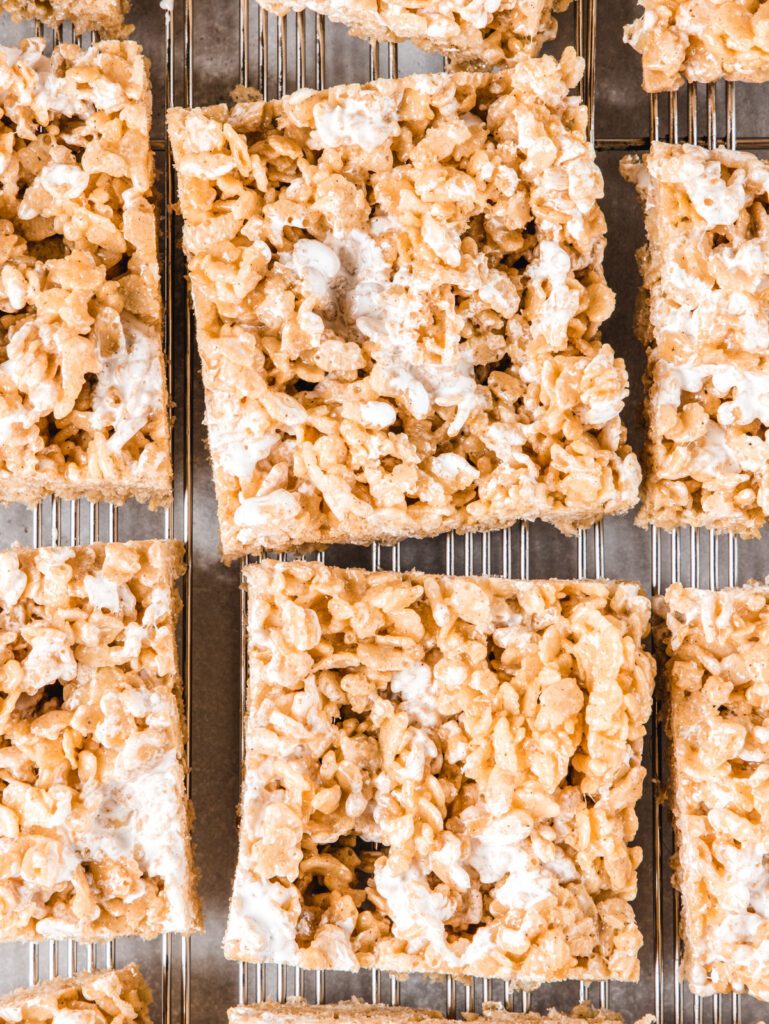
These bars are so versatile, break them up into any pans you have available. You can even fold a sheet of aluminum foil to approximately the right size. Some recipes are super specific, this is not one of them!
The Kellogg’s Rice Krispies contains malt, so they are not a gluten-free cereal, but you can find a gluten-free brand as an easy option.
Yes! As the water evaporates during the browning process, you will get some bubbling and crackling! Just keep stirring the pan and watch for the brown flecks to appear!
Absolutely! This recipe easily scales up or down, just let your pot size be your guide.
Try some other marshmallowy desserts like these Ultimate S’mores Cupcakes or this Homemade S’mores Ice Cream.
Brown Butter Rice Krispie Treats
Equipment
- 13×9 baking pan
Ingredients
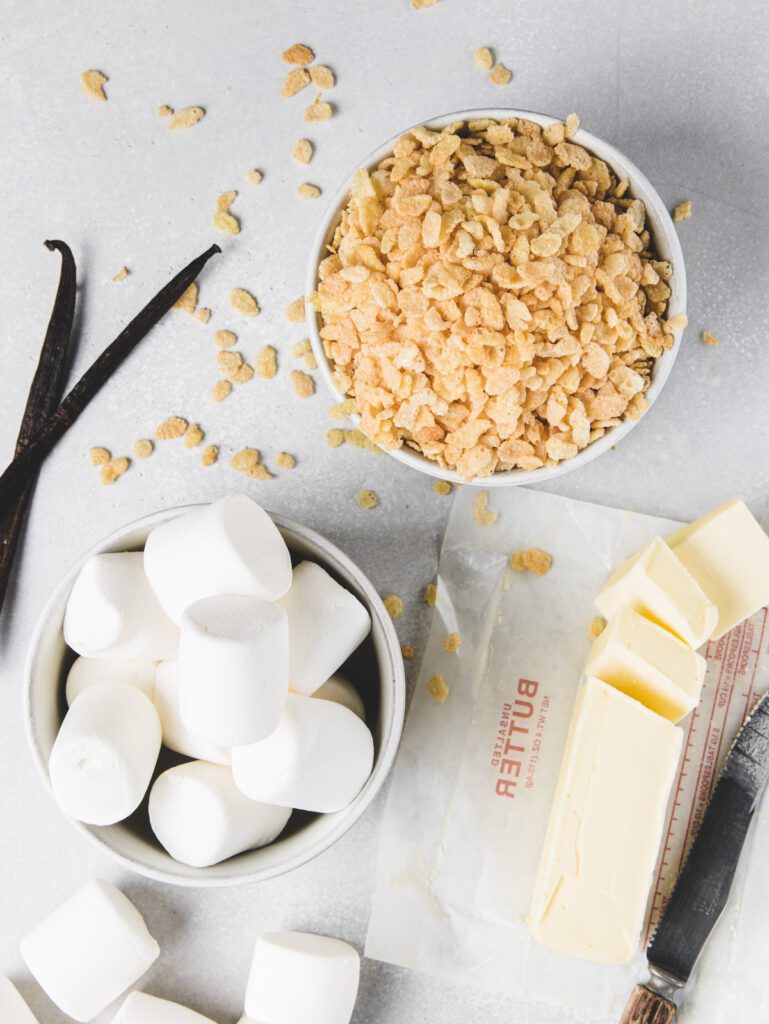
- 113 g unsalted butter
- 283 g marshmallows any variety
- 1 teaspoon salt
- 1 teaspoon vanilla extract
- 205 g Rice Krispies or any puffed rice cereal
- 60 g marshmallow creme
- non-stick spray
Instructions
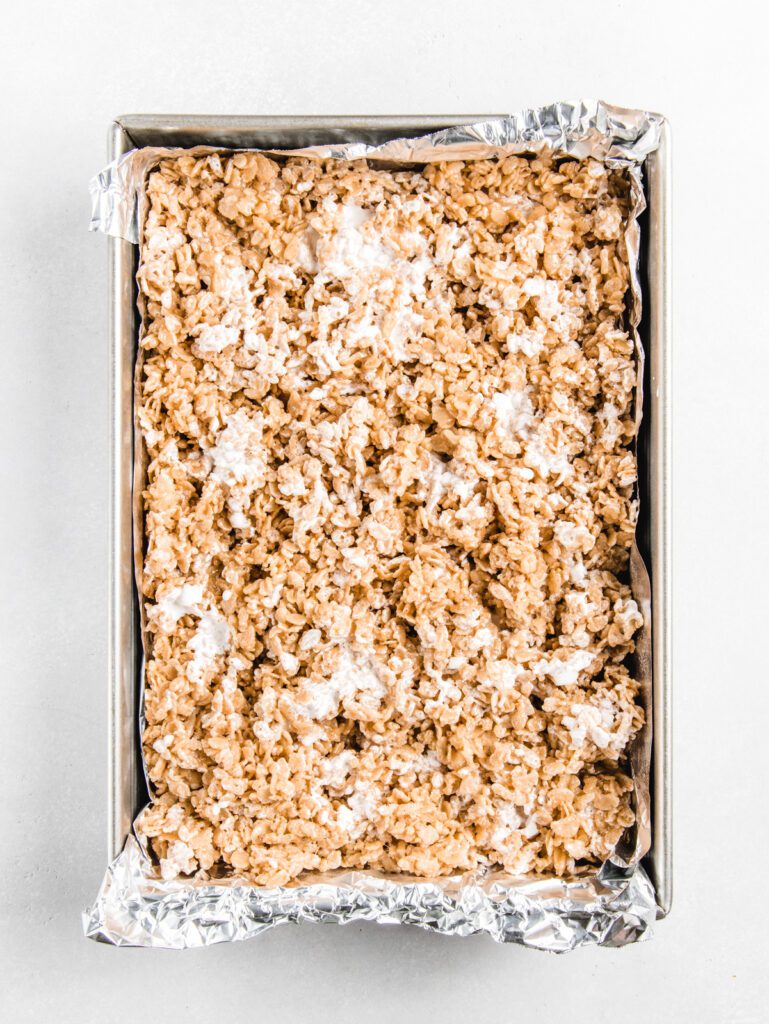
- Line a 13"x9" pan with non-stick foil and spray or grease thoroughly. Squares will be sticky!non-stick spray
- In a large wide pot (light colored is better) heat butter over medium-high heat, swirl continuously with a silicone spatula as the butter crackles and begins to turn brown in color and smell nutty. Keep swirling until small brown flecks form at the bottom, but be careful not to burn.113 g unsalted butter
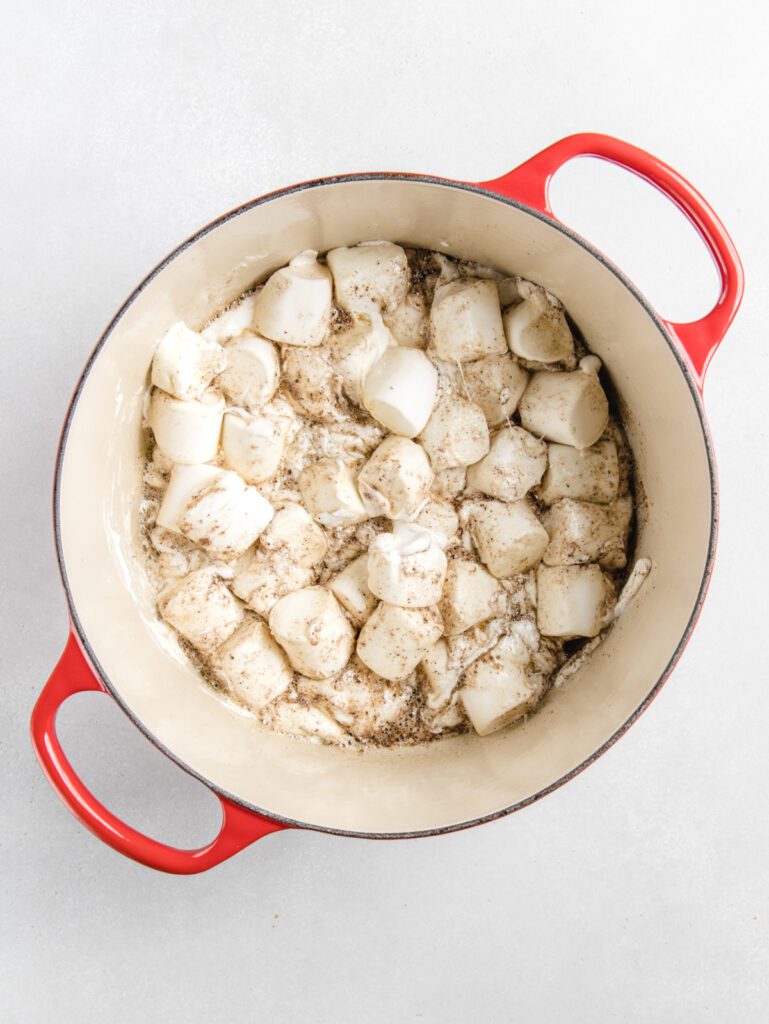
- Reduce heat to low, stir in marshmallows and salt and continue to stir until marshmallows are fully melted, 3-5 minutes.283 g marshmallows
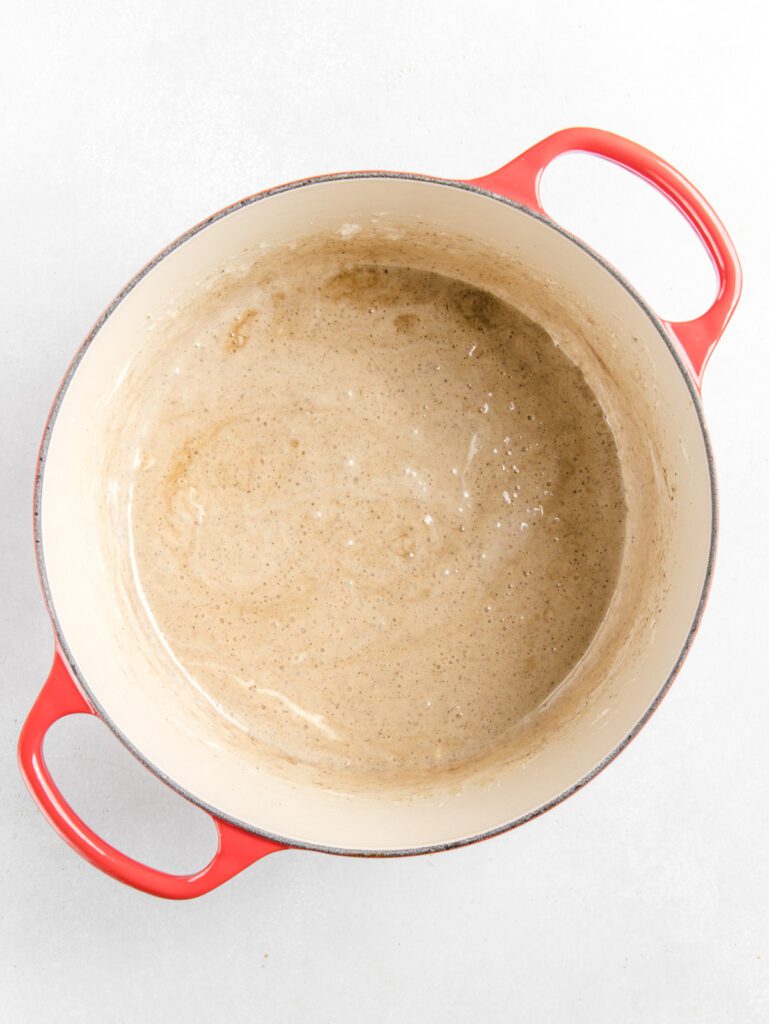
- Remove from the heat and stir in salt, vanilla, then rice cereal and stir until thoroughly mixed.1 teaspoon salt, 1 teaspoon vanilla extract, 205 g Rice Krispies or any puffed rice cereal
- Dollop spoonfuls of the marshmallow creme around the top of the mixture. Stir just a few times to swirl the creme through, but do not mix completely in.60 g marshmallow creme
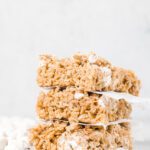
- Transfer to the prepared baking sheet. Using the silicone spatula or greased fingers, pat evenly into the corners. Allow to cool at least 1 hour before slicing into 12 pieces.
Notes
- Store in an airtight container
- Make gluten-free by using a gluten-free cereal brand
Disclaimer: We test all recipes using the metric weights shown, we cannot guarantee outcomes when switching to US measurements.
Looking for other Childhood Favorites?
Try these other elevated childhood favorite treats!