The combination of cherry and chocolate is so classic that I cannot not resist making these flaky and buttery chocolate cherry scones for every summer brunch!

Cherries are such an amazing stone-fruit. Not only are they incredibly gorgeous (seriously, that jewel-toned garnet color?!) but they are also packed with flavor! Also check out these mini cherry galettes if you are a cherry fan!
When picking fresh sweet cherries in the late-spring and summer, the deeper the color, the better the flavor. Plus, we are lucky to have access to great frozen cherries all year round. And this recipe works with either!
Ingredients
The recipe for these use my classic, and absolute favorite, buttermilk scone recipe. It’s tried and true and my Anglophile self will never stray from this recipe.

- All-purpose flour.
- Granulated sugar. A little sugar sweetens the scones, but we don’t need too much. The cherries and chocolate are already sweet enough.
- Baking powder. Gives that extra “oomph” to really lift the scones sky-high.
- Cold unsalted butter. Cold butter creates the flakiness in the scones, plus makes them perfectly buttery.
- Egg. Egg gives a little more structure to the scone. This is the main difference between a scone and a biscuit.
- Buttermilk. Everyone has their preferred dairy for their scones, but I have tested with all manner of milks and heavy creams, and buttermilk is the clear winner!
- Vanilla and almond extracts. The extra flavor and a little hint of almond is perfect with cherries.
- Cherries. Fresh or frozen cherries can be used.
- Semi-sweet chocolate. You can substitute in dark or milk chocolate if that is your preference, but for me, the semi-sweet balances nicely with the cherries. Not too sweet and not too bitter to overpower.
What is great about these scones?
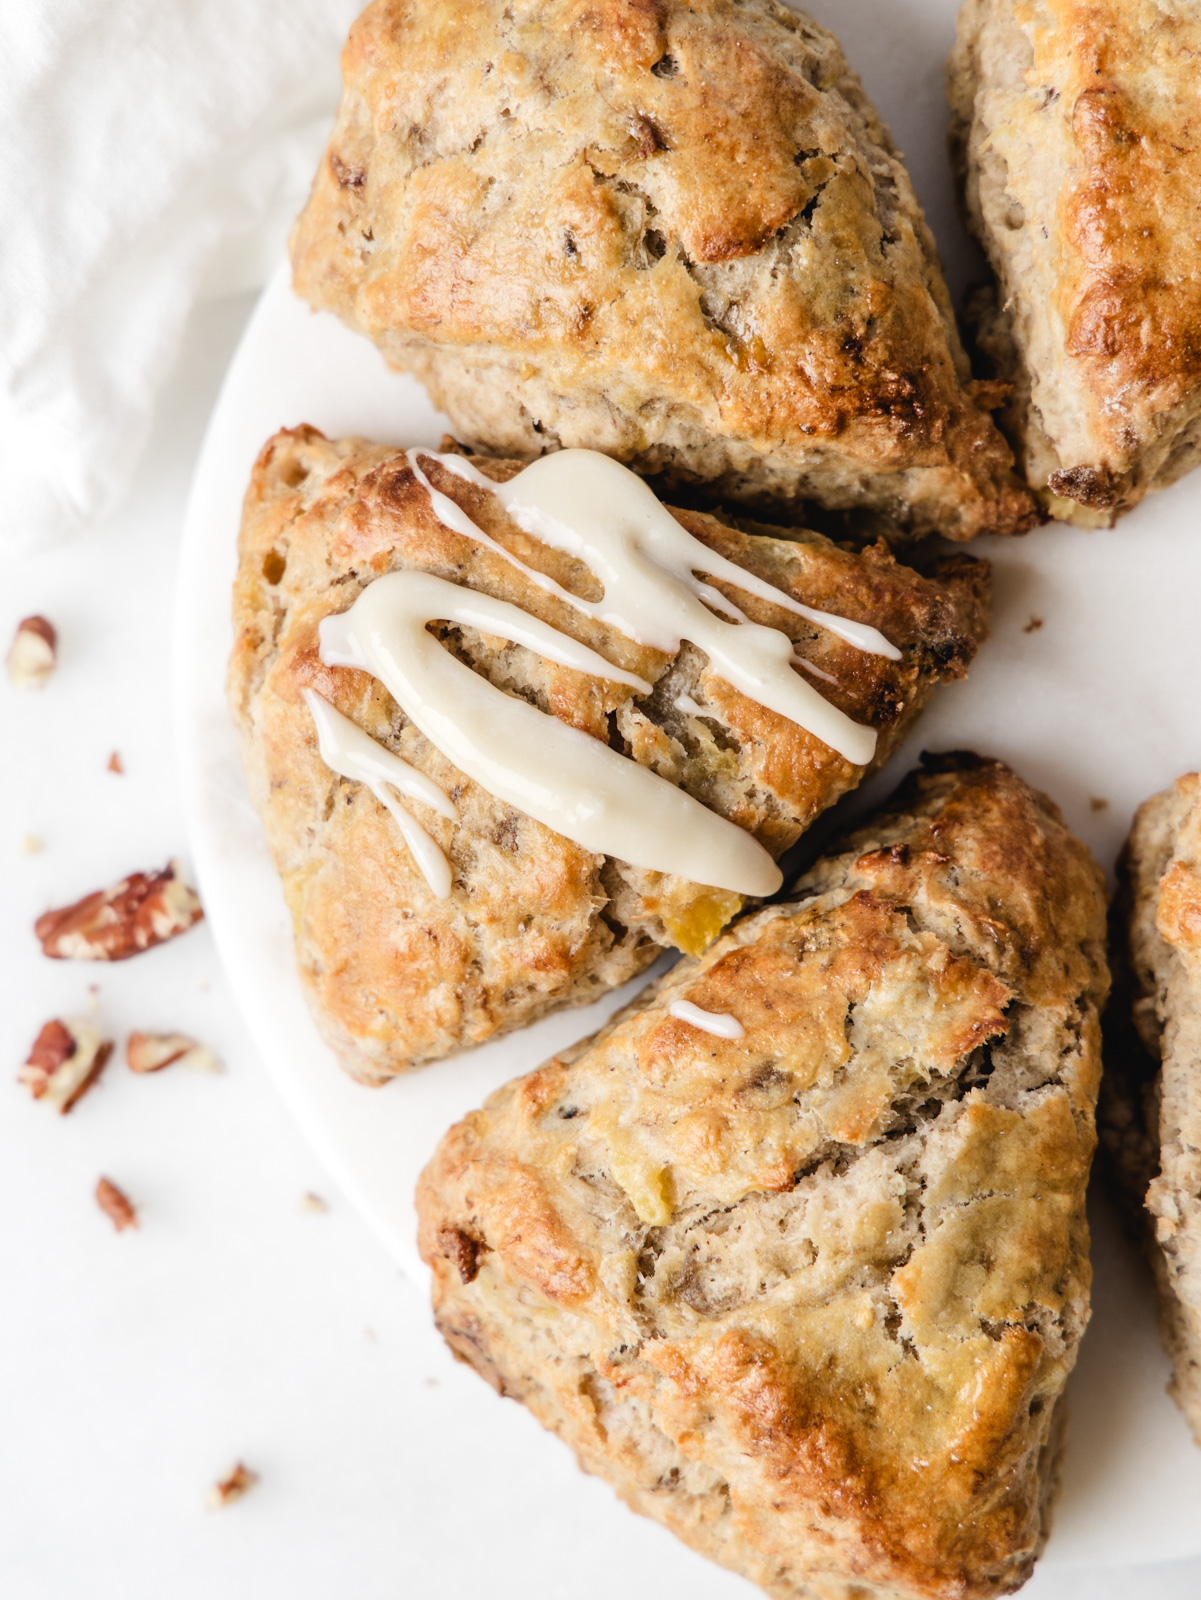
- They are flaky and buttery on the inside with a golden brown crust on top
- Plenty of fruit and chocolate mixed into the dough means these are overflowing with flavor
- A quick drizzle of chocolate on top takes these to next level indulgent
- These scones are super easy to make, require no mixers or fancy equipment, and are even better if prepped in advance! So make the dough the night before your brunch and toss them in the oven in the morning – how easy is that?! (to quote Ina Garten).


Tips for Successful Scones
Scones are incredibly easy and forgiving. Plus, I love that they don’t require any fancy equipment and I get to get my hands a little dirty. Here are a few tips for success for picture-perfect scones:
Use cold ingredients. Scones rely partially on cold ingredients to give them their light and flaky texture. Leaving some larger clumps of cold butter in the flour mixture means that when the cold butter hits a hot oven, the combination creates a burst of steam and creates a lovely layer of flake.
Rubbing in the butter. To rub the butter into the flour mixture, pinch and mash the butter between your thumbs and forefingers. Continue picking up small handfuls of flour, and pinching/mashing the butter in until the texture gets sandier. Stop when you still have some pea-sized, or even a bit larger, pieces of butter remaining.
Skip frozen butter. There’s a hack out there to freeze and grate butter instead of the technique above. While this is fantastic for those without good hand strength, I prefer the rubbing technique above. Grating butter is difficult, or requires pulling out a food processor, and by the time the butter is grated, it’s mostly defrosted anyway. Plus I like the inconsistent clumps of butter for a better texture.
Freeze scones before baking. I like to freeze scones for at least 30 minutes before baking. This ensures the butter rechills and gives us a better rise. Without freezing, the butter can leak when baking and you end up with a flat scone instead of a tall flaky scone. Even better, I like to freeze them overnight and bake for brunch in the morning.

Using Fresh Cherries in Scones
Noted above, both fresh or frozen cherries will work for this recipe.
Using fresh cherries. If you are using fresh cherries, pick plump, deep garnet cherries for the best flavor.
Be sure to remove the pits before using. I like to use a piping tip to do this (unless you have a cherry pitter at home!)
I stand the piping tip with tip facing up, and push the cherry down. This pushes the pit out and breaks the cherry in half. You can also use a wooden skewer or chopstick to do this.
Pro tip. Pitting cherries can be a little messy. Don’t be afraid to get your hands dirty, but skip the white silk top that day.
Using frozen cherries. Usually when using frozen berries in baking, we say to add them directly into the batter or dough frozen. But with cherries, I recommend to defrost them and really pat them dry first. They release a lot of juices when baking and it resulted in a soggy scone when you don’t remove some of the moisture first.
Frequently Asked Questions
Yes, prepare scone dough and freeze unbaked wedges on sheet pan before transferring to a freezer-safe bag. Freeze for up to 3 months before continuing with baking instructions below.
Absolutely, these scones are very customizable. You can swap in dark or milk chocolate if you prefer, or remove the chocolate all-together.
You can make your own quick buttermilk by adding 1 teaspoon of lemon juice or white vinegar to 1 1/4 cups of whole milk. Let sit for 5 minutes. Mixture will look a little curdled (intentionally).


Chocolate Cherry Scones
Ingredients
Chocolate Cherry Scones
- 375 g all-purpose flour plus more for dusting
- 50 g granulated sugar
- 1 tablespoon baking powder
- 1 teaspoon salt
- 150 g unsalted butter cold and cubed
- 150 g pitted cherries halved, fresh or frozen* (see note for frozen)
- 113 g semi-sweet chocolate bar or chocolate chips chopped
- 1 ¼ cup buttermilk cold, divided
- 1 large egg cold
- 1 tablespoon vanilla extract
- 1 teaspoon almond extract
- Egg wash (1 egg + 1 tablespoon water)
Chocolate Drizzle
- 56 g semi-sweet chocolate bar chopped (do not use chocolate chips)
- ½ teaspoon canola oil
Instructions
- Chocolate cherry scones. Whisk together flour, sugar, baking powder and salt in a large bowl.375 g all-purpose flour, 50 g granulated sugar, 1 tablespoon baking powder, 1 teaspoon salt
- Using fingertips, rub in cold butter until texture is sandy and large pea-sized clumps remain. Gently stir in cherries and chopped chocolate.150 g unsalted butter, 150 g pitted cherries, 113 g semi-sweet chocolate bar or chocolate chips
- In a small bowl, whisk together 1 cup of buttermilk, egg, and extracts. Pour into flour mixture, stirring with wooden bowl or danish dough whisk. Add remaining 1/4 cup of the buttermilk if dough is dry. Mixture should be slightly sticky and "shaggy" but not wet.1 1/4 cup buttermilk, 1 large egg, 1 tablespoon vanilla extract, 1 teaspoon almond extract
- Tip dough onto a lightly floured table. Divide dough into 2 equal portions, patting each portion into a 1" tall disc, about 7" wide. Cut each disc into 6 wedges and transfer to a parchment lined baking sheet. Freeze for at least 30 minutes or overnight.
- When ready to bake, preheat oven to 425°F (220°C). Remove scones from freezer and brush with egg wash. Bake for 20-22 minutes until dark golden brown.Egg wash
- Chocolate drizzle. Place chocolate in microwave-safe bowl. Microwave at 50% for 30 second bursts, stirring between, until chocolate is melted. Stir in canola oil. Drizzle over baked scones. Scones are best enjoyed day baked.56 g semi-sweet chocolate bar, 1/2 teaspoon canola oil
Notes
- *If using frozen cherries, defrost and thoroughly pat dry with paper towels before adding to dough.
- Unbaked scones can be frozen and transferred to a freezer-safe bag and stored for up to 3 months. Continue with step 5 of instructions.
- Baked scones are best the day of baking. Scones can be kept at room temperature for 3 days or frozen for 1 month. Refresh scones in 300°F (150°C) oven for 5-10 minutes
- Chocolate drizzle is optional.
Disclaimer: We test all recipes using the metric weights shown, we cannot guarantee outcomes when switching to US measurements.

