Sparkle and shine and celebrate the season! This White Christmas Cake is a perfectly fluffy eggnog cake with a vanilla buttercream and topped with a sparkly snowy tree forest! It’s ready for any celebration of the season!

A White Christmas is not only my favorite movie, but it’s also my dream come true. There’s nothing like the sparkle that comes at that time of year.
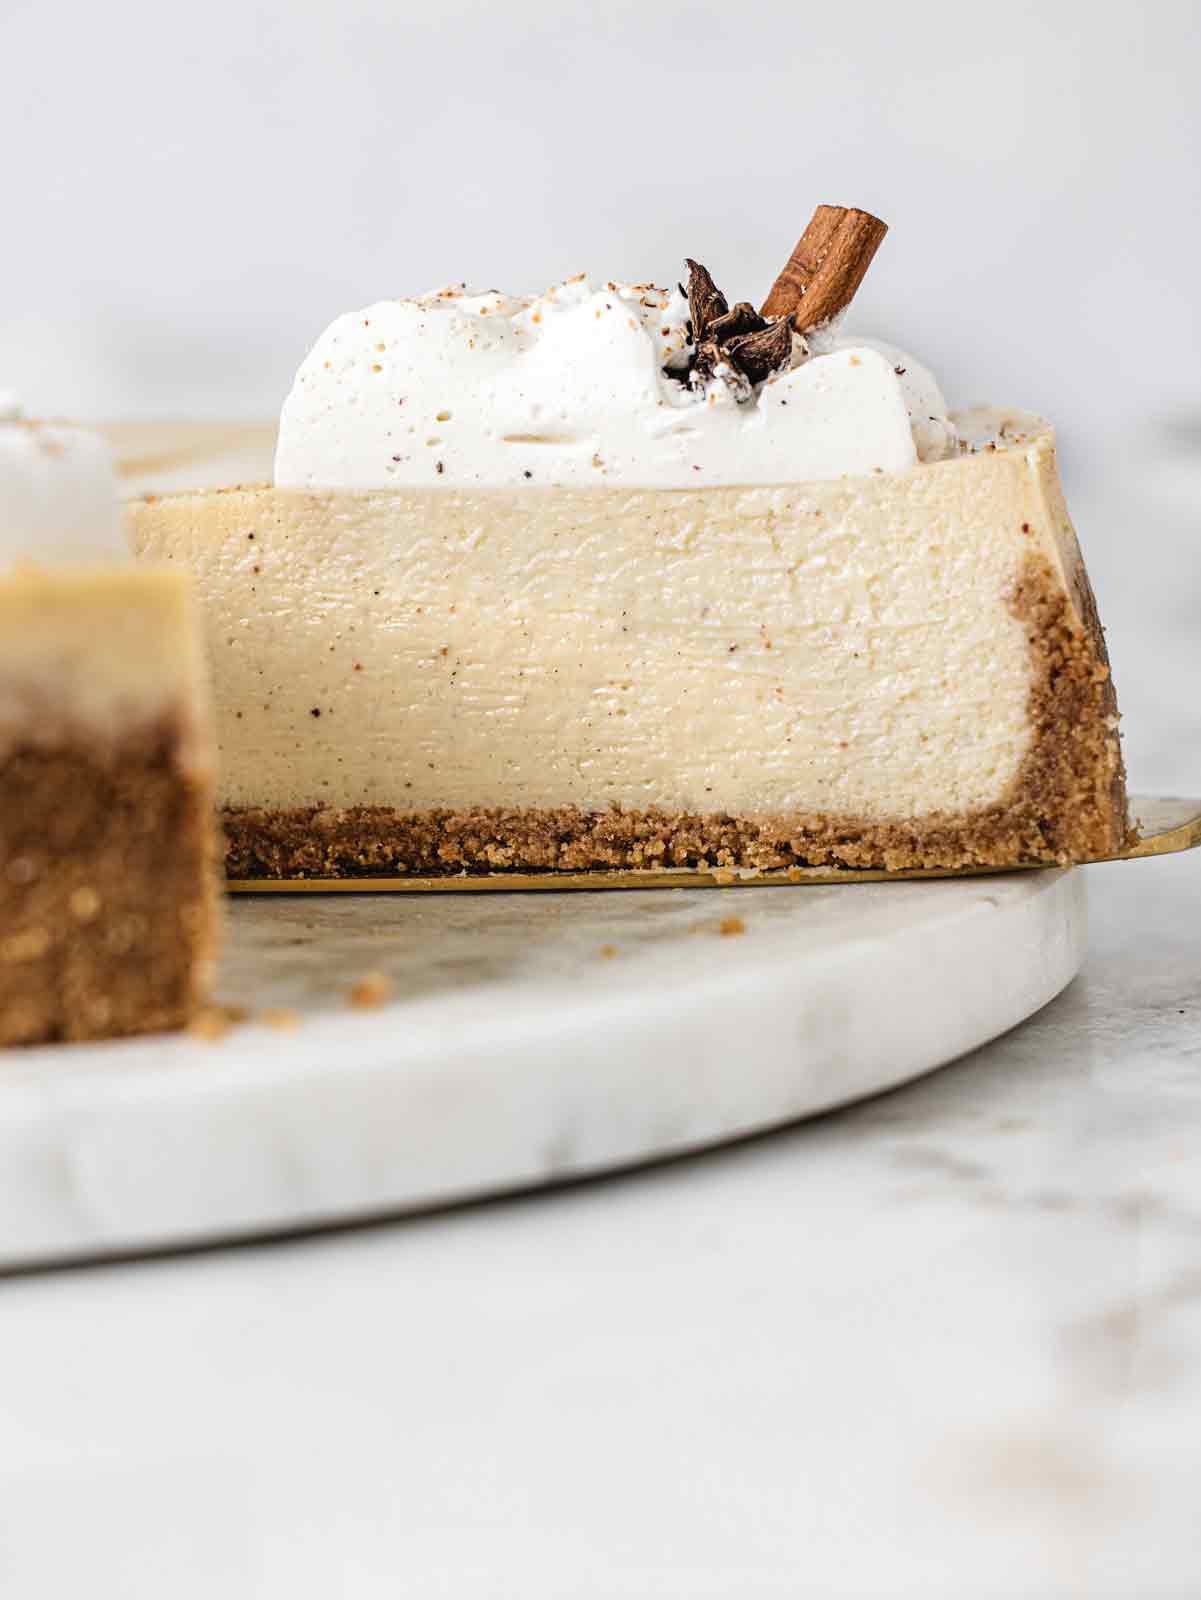
Eggnog is ubiquitous with the holiday, which is why you can also find it in my eggnog cheesecake and eggnog scones recipe. I just love it so jingle-jangling much!

Ingredients
While it looks fancy, this white Christmas cake is really a dressed up vanilla cake. And seriously, what’s better than a great vanilla cake? The difference, we swapped in eggnog as our dairy for an extra depth of rich flavor.
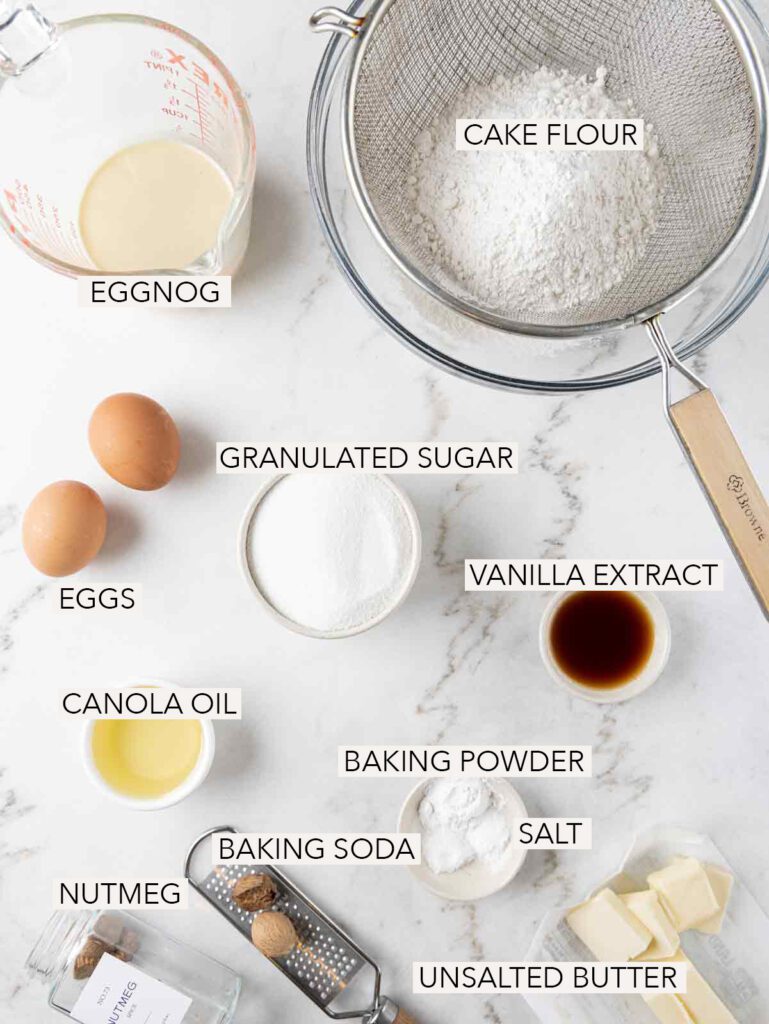
- Cake flour. I prefer cake flour in my vanilla cake recipe. It makes for an incredibly light and fluffy texture.
- Ground nutmeg. Helps to reinforce the eggnog flavoring.
- Baking powder and baking soda. Our raising agents.
- Unsalted butter and neutral oil. Neutral oil is an oil without flavor (i.e. vegetable or canola). Using it together with butter is the best of flavor and softness in the batter.
- Eggs.
- Eggnog. Use a good quality one, one that you would drink! Then the rest of the container is for the chef…
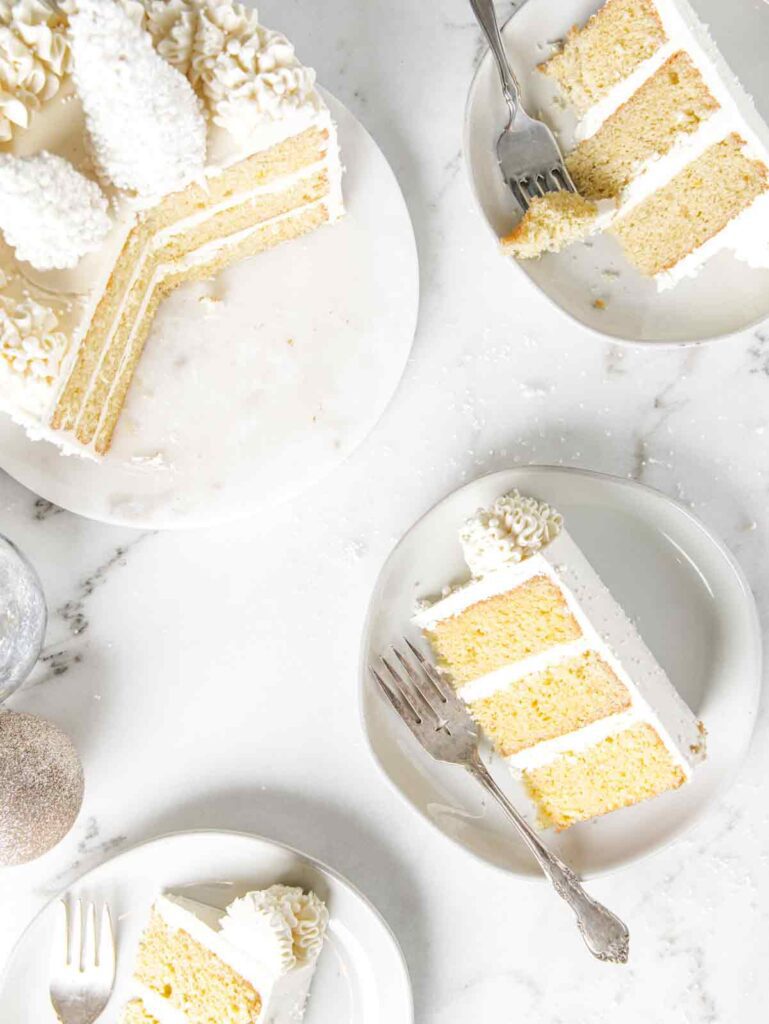
Tips for Making a Level Cake
Layer cakes need nice even, straight layers to make them really shine. Yes, I still trim my cakes after baking, but there’s a few tips to achieving better baking results!
Get the batter just right. After whipping up your batter with the mixer, it’s always important to take a spatula and scrape down the bottom and sides of the bowl to ensure you have a perfectly mixed batter.
Start with level layers. Evenly distribute the batter between three tins. If they are uneven going in, they will be uneven coming out! I like to use an ice cream scoop for consistency.
Smooth the batter out into a level layer, either with an offset spatula or with a shimmy of the pans. Give the pans a few taps on the counter to pop any air pockets and create a even layer.

Use cake strips. Or cut up an old towel the height of your cake tin and secure using a metal binder clip. Soaking the cake strips before baking will insulate the pans and stop the edges from setting too quickly. This allows edges to raise at the same time as the center and avoids the domed effect.
Trim. A long serrated knife and a cake turntable is great for this. I like to just trim off the top crust for a perfectly even cake.
Cold is better. Cakes must be fully cooled before cutting and stacking. Seriously. Don’t skip this! When you see sad, falling, cake fails, it’s because the cake was warm 192% of the time. Cakes are even easier to trim and move if they are chilled in the fridge first.
How to Create Snowy Trees
What’s a white Christmas cake without a snowy Christmas tree?? To make these cutey little trees, I use a secret shortcut – waffle cones!
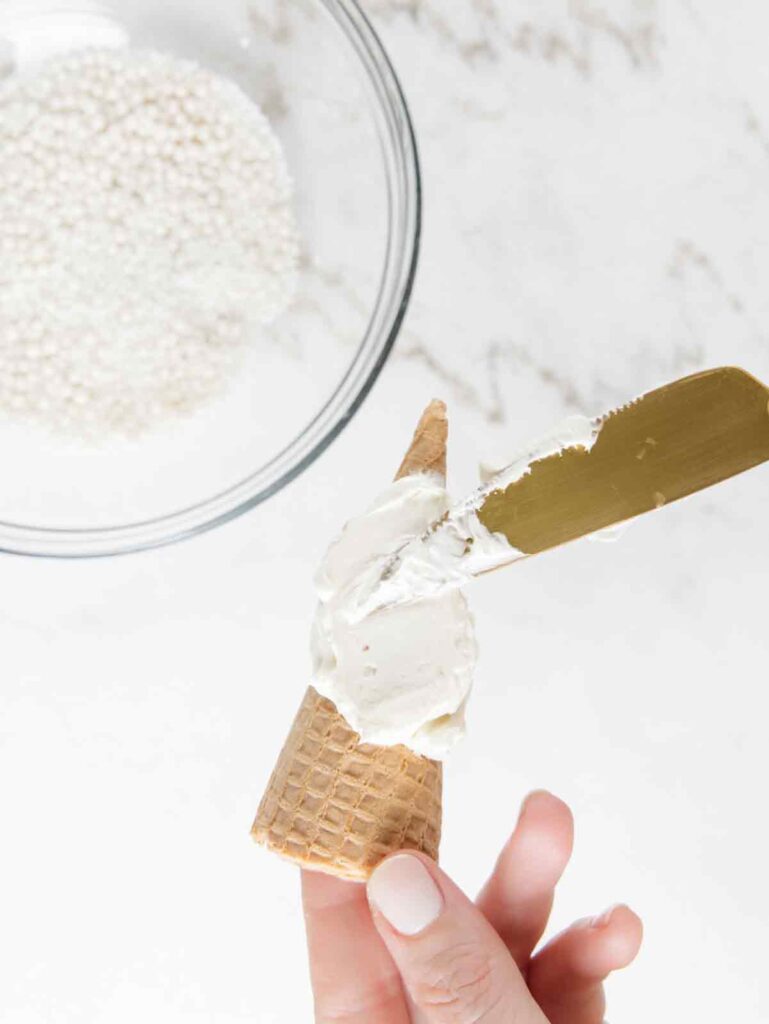

Trim three waffle cones at varying heights. Spread a light layer of buttercream on the outside of the cone then roll in sprinkles. Ta-da! That’s it!
To make these, I used a combination of 3 kinds of sprinkles: white sanding sugar, white nonpareils, and mini white pearls. I really liked how the mixture came together for some added depth to the sprinkles.
To top it off, I used a 2D Wilton tip and piping bag to create the swirls.
Lastly, I tossed some sprinkles around the cake in random places. Please, do this over the sink. The pearls will get everywhere otherwise. Just, please. Trust me.

Frequently Asked Questions
Make a homemade cake flour by substituting 3 tablespoons (22g) of the flour with 3 tablespoons (21g) of cornstarch.
No, you can use whole milk as well. I would also add 1/4 cup (56g) of sour cream since the milk is less creamy. Stir the sour cream in at the end.


White Christmas Cake
Equipment
- 3 6" cake tins
Ingredients
- 210 g cake flour
- 1 teaspoon ground nutmeg
- 1 ¼ teaspoons baking powder
- ¼ teaspoon baking soda
- ½ teaspoon salt
- 100 g unsalted butter room temperature
- 200 g granulated sugar
- ¼ cup canola or vegetable oil
- 2 eggs room temperature
- 1 tablespoon vanilla extract
- ½ cup eggnog room temperature
- 1 recipe of Swiss meringue buttercream
- 3 sugar waffle cones optional
- Assortment of white sprinkles optional
Instructions
- Preheat oven to 350°F. Grease and flour 3 – 6″ cake tins. Line with parchment paper.
- Whisk together cake flour, nutmeg, baking powder, baking soda and salt. Set aside.210 g cake flour, 1 teaspoon ground nutmeg, 1 1/4 teaspoons baking powder, 1/4 teaspoon baking soda, 1/2 teaspoon salt
- In the bowl of a stand mixer fitted the paddle attachment, or with hand mixer, whip together butter and granulated sugar on high until light and fluffy. Scraping bowl as needed with spatula. Add oil.100 g unsalted butter, 200 g granulated sugar, 1/4 cup canola or vegetable oil
- Add eggs one at a time on low. Add vanilla extract.2 eggs, 1 tablespoon vanilla extract
- Alternate adding flour mixture in three additions and eggnog. Flour – eggnog – flour – eggnog – flour. Allow each addition to mix in fully before adding the next.1/2 cup eggnog
- Divide batter between prepared pans. Bake 22-24 minutes, until a toothpick comes out clean and cake springs back when touched. Allow cakes to cool completely before stacking and filling.
- Assembly. While cake bakes, prepare buttercream according to directions.
- To make snowy trees, cut waffle cones in various heights. Cover with thin layer of buttercream and roll in sprinkles as desired.3 sugar waffle cones
- When cakes are fully cooled, trim top to create an even layer. Top with a layer of buttercream, then stack another cake layer on top. Continue with all layers. Cover sides of cake with buttercream. Top with snowy cones and buttercream swirls if desired.
Notes
- Freeze baked cake layers wrapped in plastic wrap for up to 3 months.
- Store extra cake in fridge for up to 3 days. Allow to come to room temperature before enjoying.
Disclaimer: We test all recipes using the metric weights shown, we cannot guarantee outcomes when switching to US measurements.