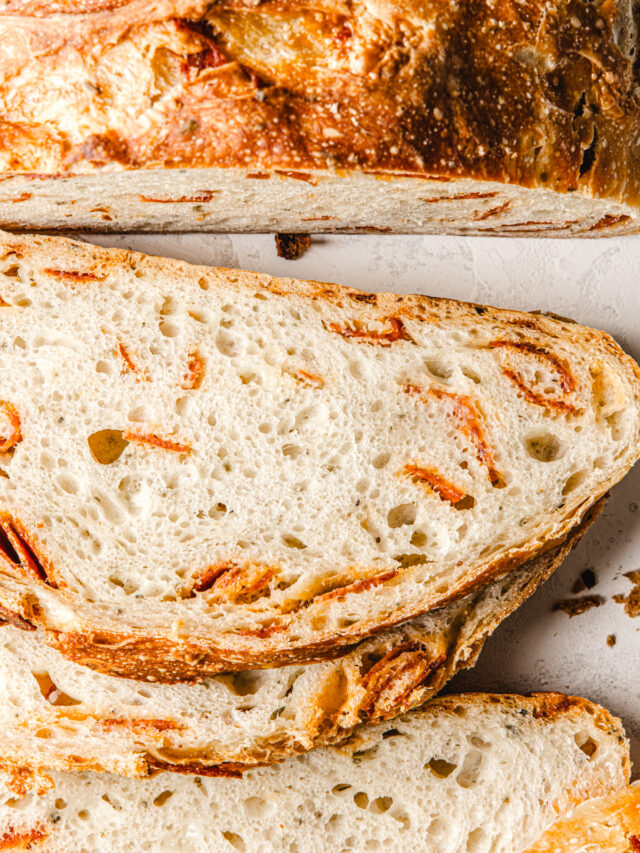
Many people think bread can be a bit intimidating, but this recipe of Olive Bread with rosemary and orange is anything but – it requires no kneading, no exact proofing times and very little hands-on time. It’s a great lazy day bake for when you want a fresh loaf of bread for dinner, but don’t want to babysit all day.
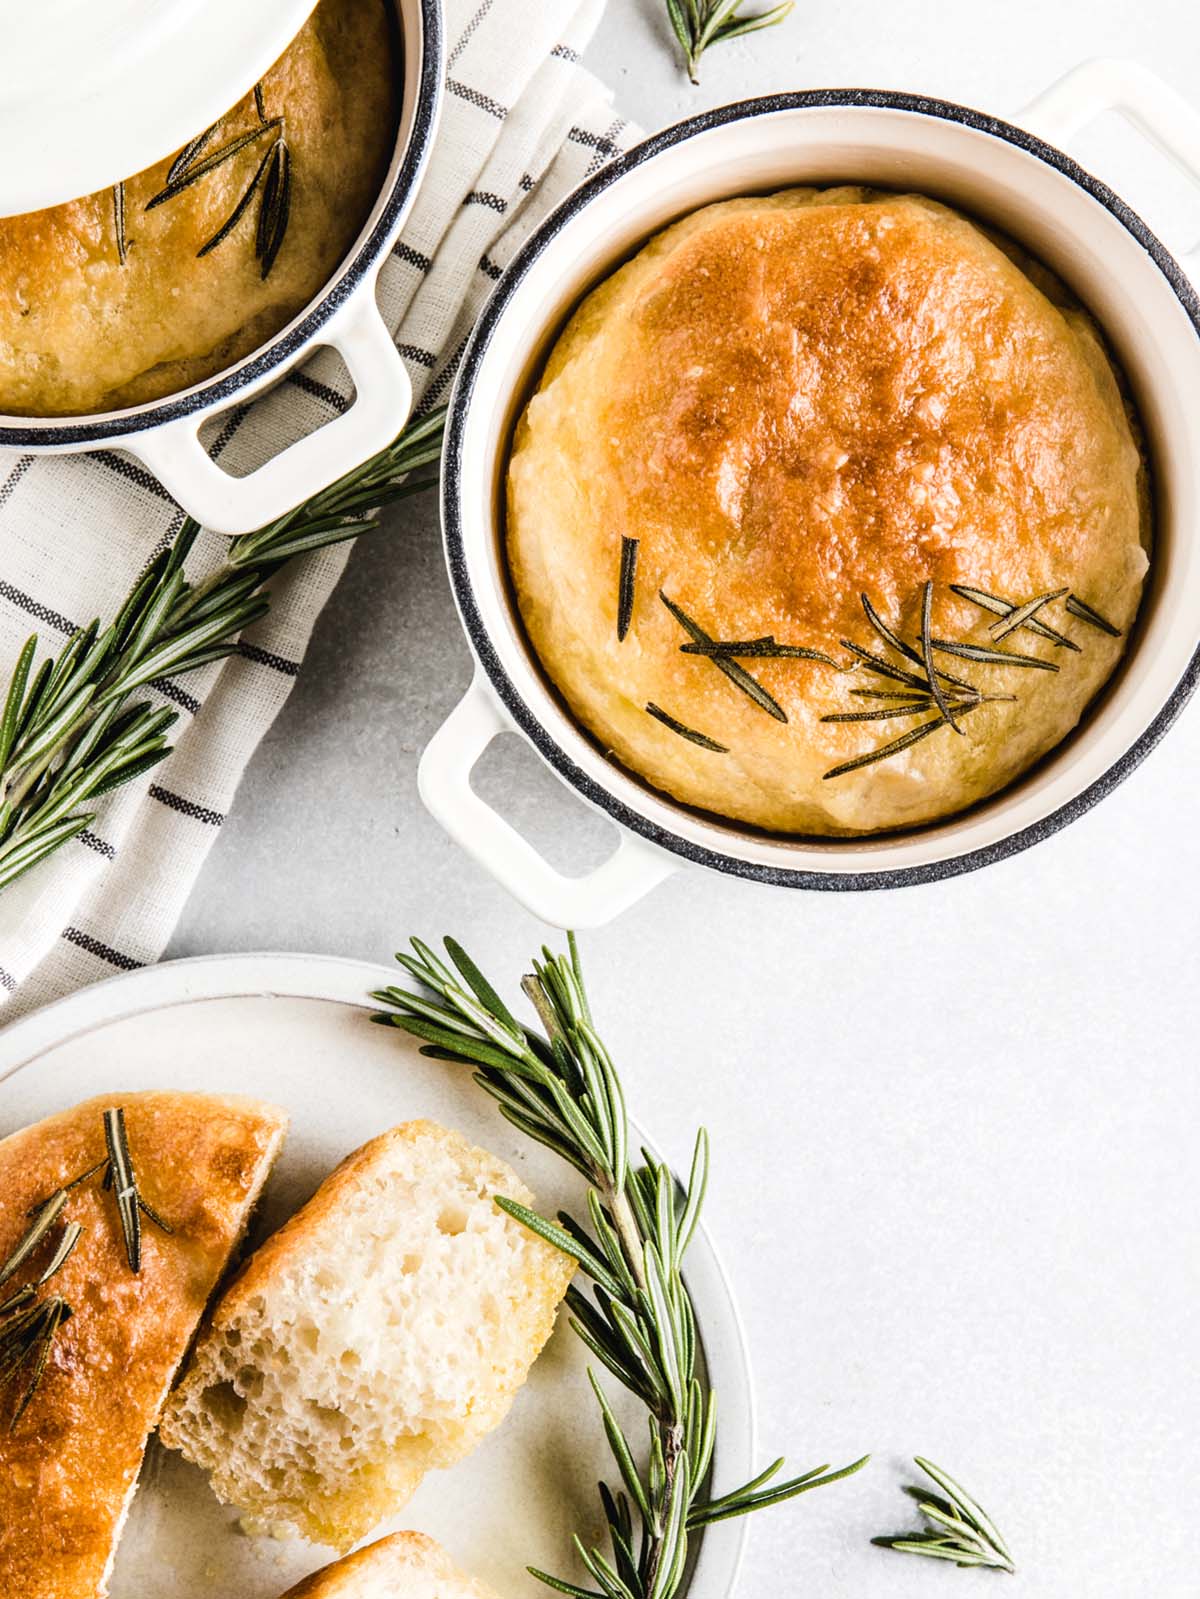
There is really nothing in the world like a great crusty loaf of bread. I’m not kidding, it’s truly one of my favorite things in life. Much like this Rosemary Focaccia Bread or this Pepperoni Bread, this bread is definitely a beginner-bread baker-friendly loaf. Let’s walk through it!
The Beginner Friendly Bread
No-knead bread is basically like getting a cheat code to amazing freshly baked bread at home. When making traditional loaves, you typically need to activate the yeast, let it proof, knead it for 10 minutes, let it proof, shape it, and so on. For this olive bread, we’re going to skip all that and let the yeast do all the hard work.
To make our bread, we will use a packet of Active Dry Yeast. This is available at any grocery store. Head to the baking aisle and look for a yellow box. It’s the most widely available brand. There will be three small paper envelopes together in a row, kind of like large arcade tickets. We will use 1 of these packets in our bread today.
From here, it’s smooth sailing. Combine the flour, salt and yeast in a large bowl. Just avoid pouring the salt directly on the yeast. Yeast hates salt, so they need a buffer. Now, you could stop here and just add water for a classic white bread. For our bread, we will add a few additional flavors.
Making Olive Bread
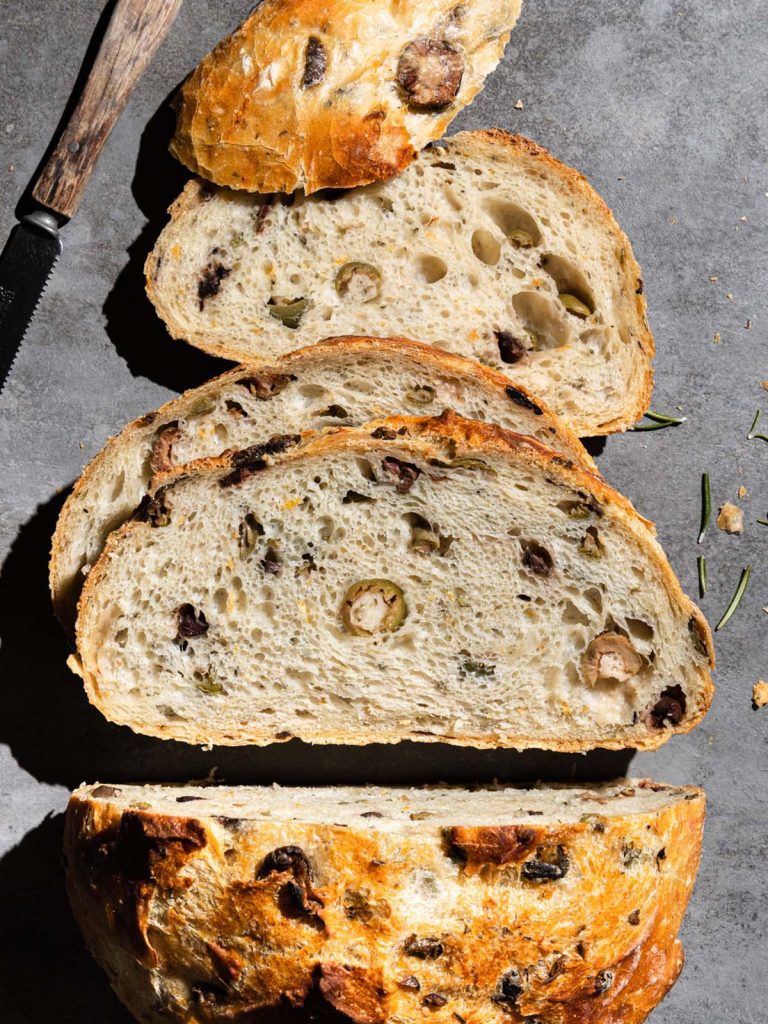
To our flour mixture, we are going to add a ton of roughly chopped olives. I used a mixed jar of a few types of olives. You can certainly use your favorite single variety instead. I also added some finely chopped rosemary and the zest of an orange. After last Christmas’ roasted olives with these flavors, I became a little obsessed with the combination of olives, orange and rosemary.
The last ingredient is water. Use warm water, not hot, just slightly above body temperature, about 100°F if you have a thermometer. Warm water will wake up the yeast. Hot water will kill the yeast so go a little cooler than warmer.
Now, sit back. Cover the bowl with plastic wrap and let it sit at room temperature for 2 hours. This is let the yeast wake up and start creating the air bubbles. After 2 hours, pop the bowl in the fridge for at least another 2 hours or up to 5 days. Yes, FIVE days.
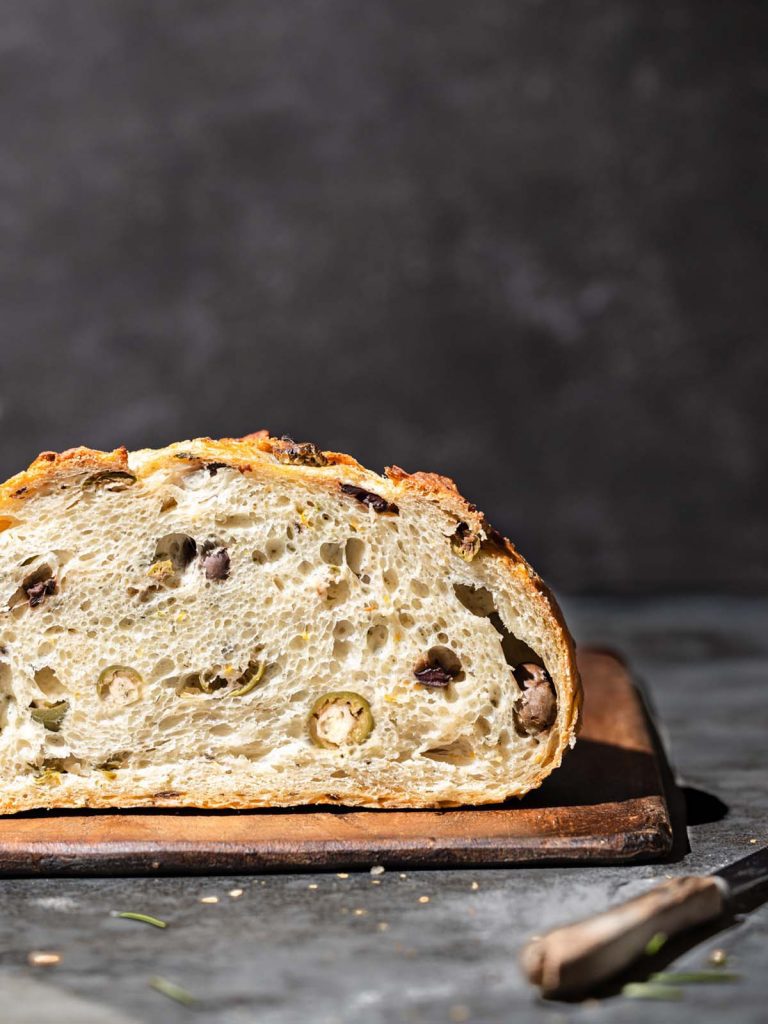
The cold air will slow down the yeast’s reactions allowing it to slowly build flavor. The longer the dough rests, the better the flavor and the more pronounced the air bubbles will be for the final loaf. Don’t be worried if you see the dough rise and deflate over the course of a few days. This is normal.
I like to make the dough on Sunday when I have some spare time and have it ready for later in the week for dinner.
Dutch-Oven Baking
The biggest help in our olive bread is a dutch oven. Professional kitchens use a lot of kneading to create their crust, they also use steam in their ovens. Instead, we’re recreating the steamy environment with a heavy dutch oven.
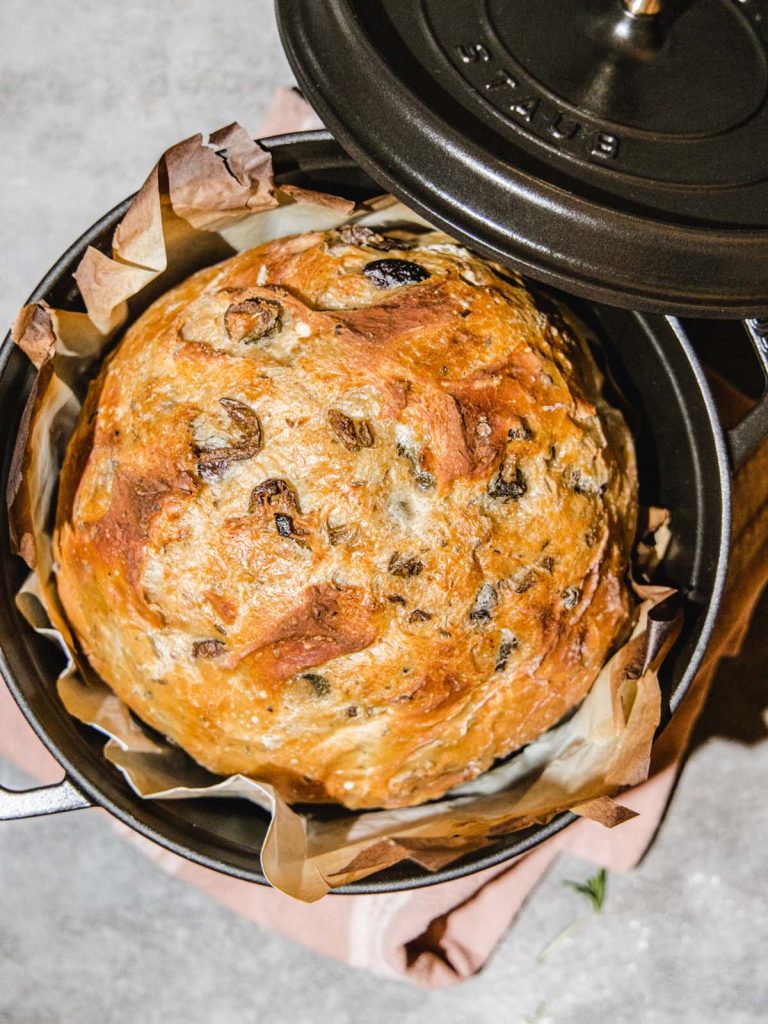
Before putting our dough in the oven, we will first place the empty pot inside to get scorching hot. We’ll leave it in a 450°F oven for a good 30 minutes before adding the dough. This will help the dough spring and create a nice crusty shell. Once it’s thoroughly baked, remove the lid and let it brown. Don’t shy away here. Really let it brown to a nice deep color, no pale breads here.
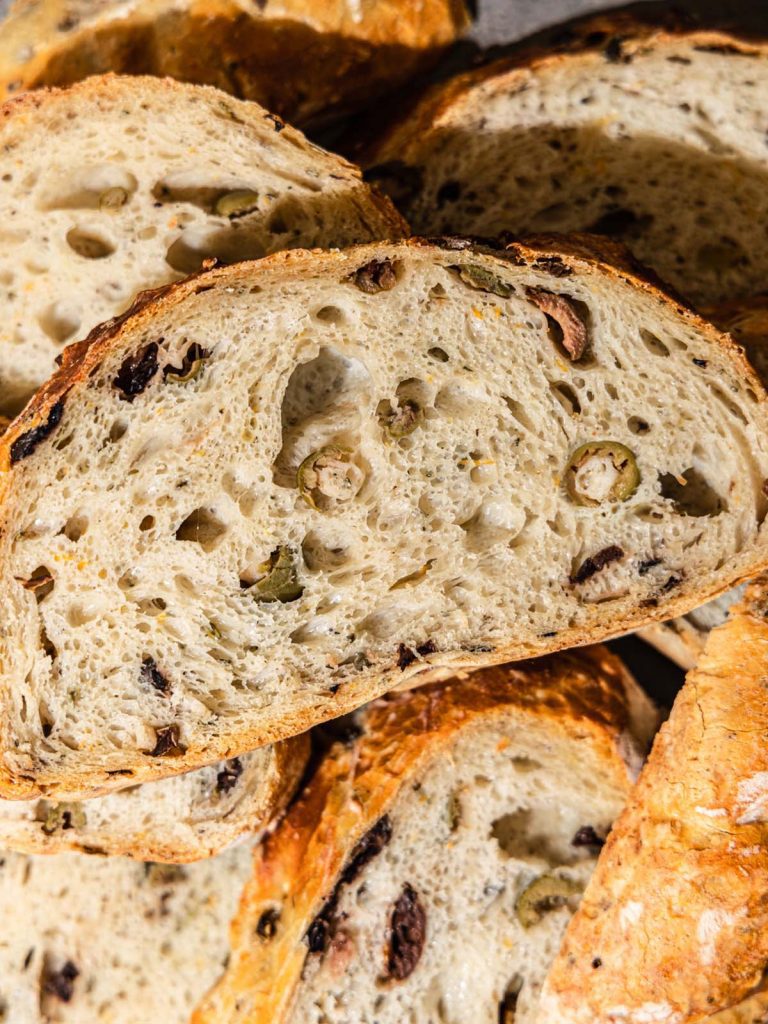
When you remove the bread, it should sound hollow when you tap on the bottom. This means the wetness has been baked away. Now comes the tough part, bread really needs to be cooled before slicing. Let it sit for at least an hour before slicing.
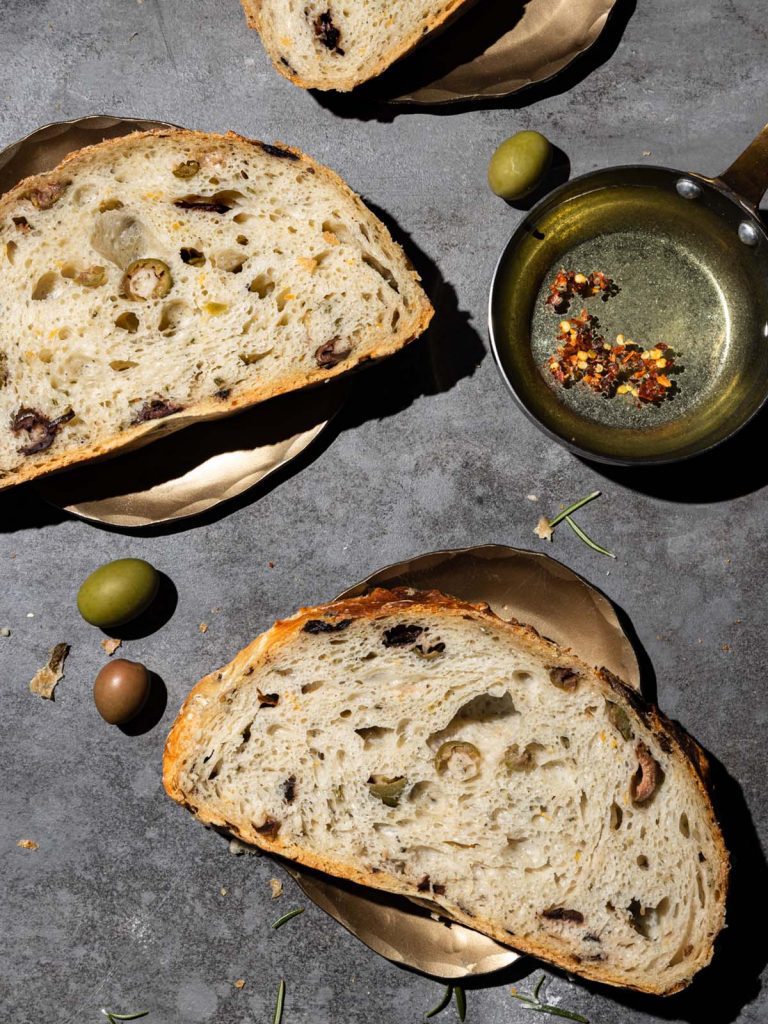
Pro tip: serve with red pepper olive oil for dipping. Heat olive oil slightly in a pan and add a pinch of pepper flakes. Allow to warm for a few minutes to infuse the oil. Yum.
Easy No-Knead Olive Bread
Ingredients
- 520 g bread flour
- 2 teaspoons kosher salt
- 1 tablespoon finely chopped rosemary fresh
- Zest of 1 orange
- 7 g active dry yeast 1 packet
- 180 g mixed pitted olives drained and roughly chopped (about 5.6oz jar)
- 2 cups warm water 95°-100°F
Instructions
- Mix together flour, salt, rosemary and orange zest, and yeast in a large bowl. Stir in olives. Add warm water and mix with a wooden spoon until fully combined and no streaks of dry flour remain. The dough will be quite wet and sticky. Cover with plastic wrap and let sit for 2 hours at room temperature.520 g bread flour, 2 teaspoons kosher salt, 1 tablespoon finely chopped rosemary, Zest of 1 orange, 7 g active dry yeast, 180 g mixed pitted olives, 2 cups warm water
- Place bowl in the fridge for at least 1 hour, or up to 5 days. The longer the rest, the deeper the flavor development and more air bubbles will form in the final loaf.
- 45 minutes before you are ready to bake, preheat oven to 450°F. Remove dough from the fridge onto a lightly floured surface. With lightly floured hands, shape into a ball shape. Transfer to a floured piece of oven-safe parchment paper, seam side down. Let sit in a bowl about the size of your dutch oven to keep its shape. Lightly cover and let sit at room temperature for 45 minutes.
- 30 minutes before baking, place a 5.5-6qt dutch oven with lid in the oven to fully heat. Carefully remove the pot after 30 minutes and immediately lower the dough into the warmed pot using the piece of parchment.
- With a sharp knife, slice the dough 2-3 times, about 1/2″ deep. Replace the lid on the dutch oven and return to the oven. Be sure to use oven mitts the entire time, the dutch oven will be scorching hot.
- Bake for 40 minutes with the lid on. Remove the lid and bake another 15-20 minutes until dark golden brown.
- Remove from the oven and let cool completely before slicing, at least 1 hour.
Notes
Disclaimer: We test all recipes using the metric weights shown, we cannot guarantee outcomes when switching to US measurements.

