Ah, chocolate tempering – the process to get that shiny chocolate finish that “cracks” when you bite it and doesn’t melt in your fingers. It’s one of those kitchen tasks that is both super satisfying and super frustrating. It’s undoubtedly fiddly, I won’t deny that, but the final result of a super shiny chocolate finish will give you so much joy and pride. Let me show you how to temper chocolate for flawless finishes everytime.
What is Tempering Chocolate?
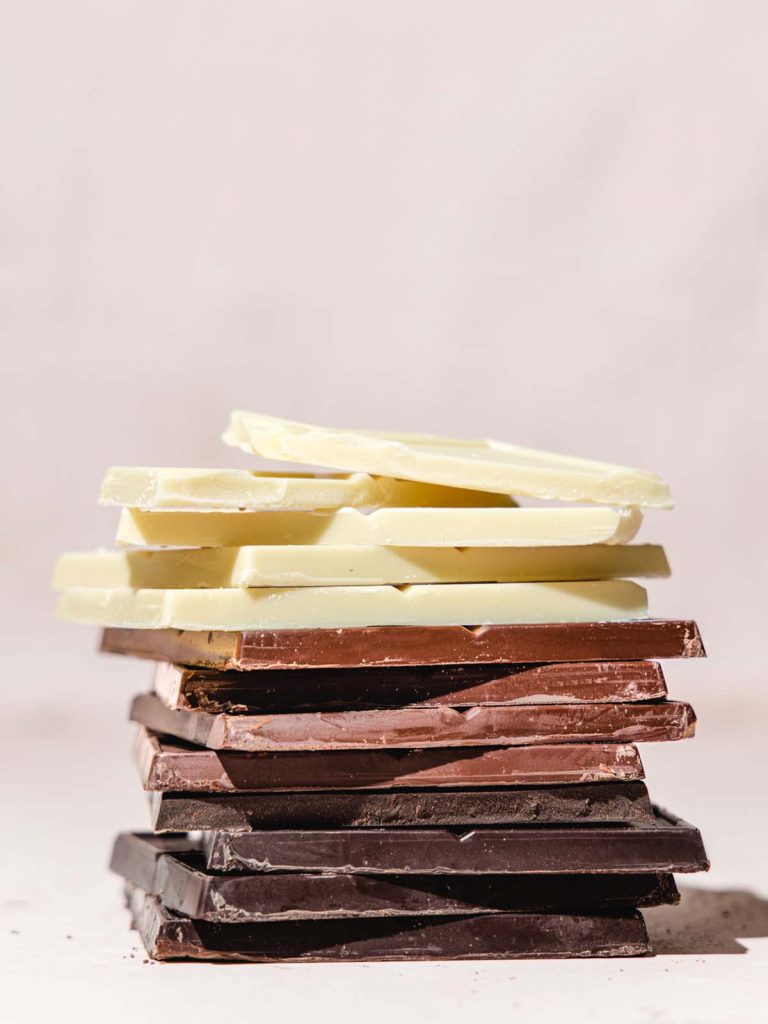
Tempering chocolate is a process of heating and cooling chocolate to very specific temperatures to create shiny, hard-set chocolate. If you melt chocolate and just let it cool, you will notice it’s pretty dull and smudgy – leaving chocolate on your hands when you touch it.
Compare that to a wrapped chocolate bar or a fancy package of creme-filled chocolates, and you will notice no smudginess or dullness.
When we specifically heat and cool the cocoa butter in chocolate we are telling it to cool in a particular manor. That is a specific crystalline structure that gives us a shiny shell. Yes, it’s very scientific, and the words polymorphs is used, but really it’s all about the final result and chemistry was my worst class in school.
How to Temper Chocolate
I’m going to walk you through the traditional method of tempering. There is another method called “seeding” that I find has mixed results. The seeding method heats chocolate then adds more already tempered chocolate to cool it and set it quickly. It works but not quite as well as the traditional method I will outline below.
The Traditional Method of Tempering
First things first, we must start with quality chocolate. We cannot use chocolate chips for this. Chocolate chips contain some extras that make them great for cookies, but impossible to temper. The classic chocolate to use is called couverture chocolate.
It’s a high-quality grade of chocolate that has more cocoa butter. Callebut is the go-to brand for most pastry shops. Valrhona is another quality brand. You can find them online (like this one) but I’ve never seen it in local stores. At minimum, you should use the quality baking bars in the baking aisle.
Preparation
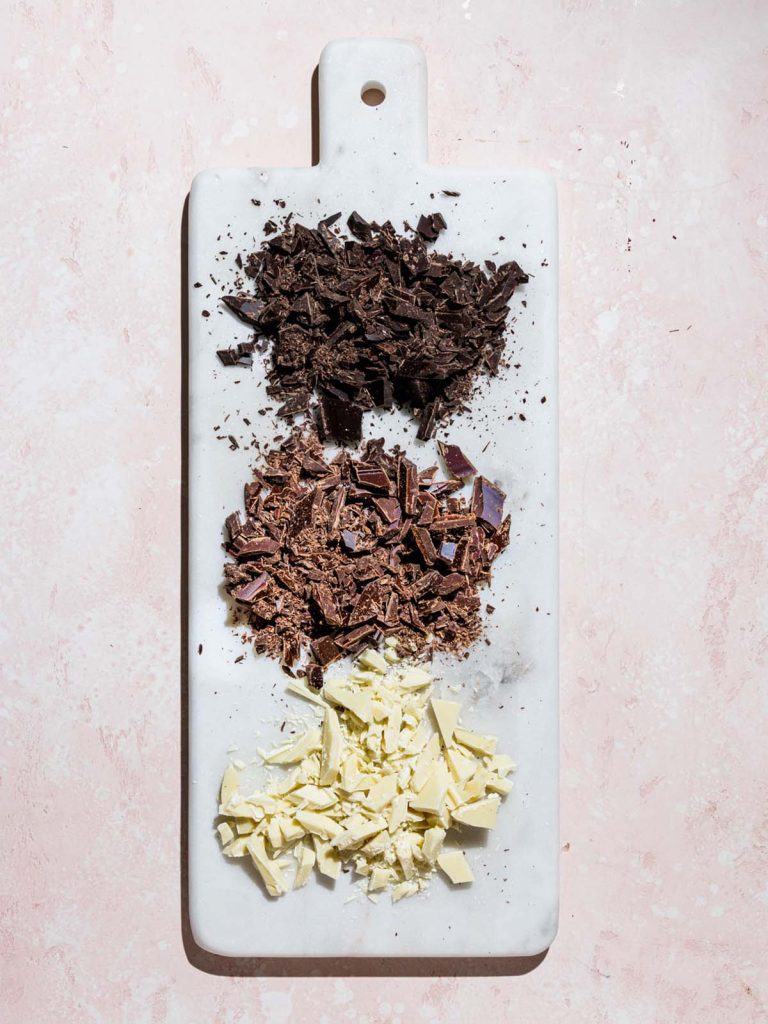
If you purchased couverture chocolate callets or drops, your chocolate should be ready to go. Just place the amount desired into a heat-proof bowl. If you are using chocolate bar, finely chop the chocolate before placing in your bowl.
Your bowl will be part of a double-boiler, so find a bowl that will sit tightly on the top of a pot without touching the bottom. Fill the pot with water ensuring that it doesn’t reach the bowl.
Important Tools for Tempering Chocolate:
- A digital thermometer
- Rubber spatula
- Metal bench scraper
- Spoons for testing
- A marble slab or clean stone countertop
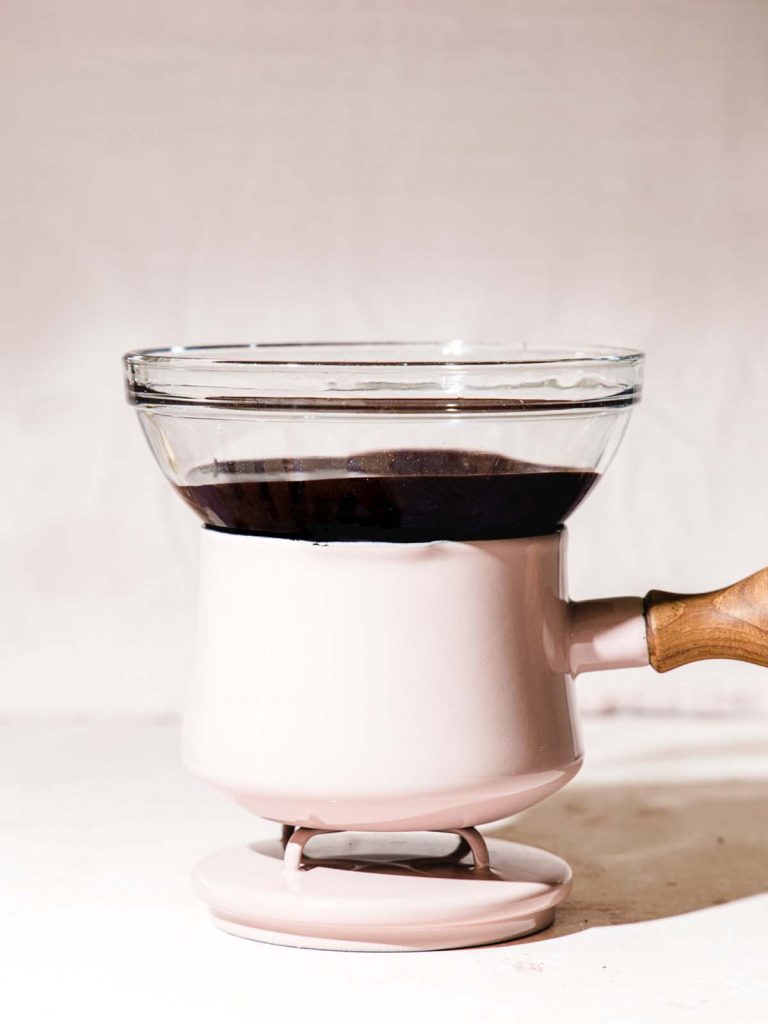
Tempering Process
Time to start! Below is a chart for ideal temperatures to heat and cool your chocolate. Dark/semi-sweet, milk and white chocolate have different cocoa butter quantities, so you will notice the temperatures differs for each. It’s important to reference the correct chart for the type of chocolate you are using.
Temperature Chart
| Initial Heat Temp | Cool Temp | Final Heat Temp | |
| Dark/Semi Chocolate | 112° – 113°F | 80° – 81°F | 90°F |
| Milk Chocolate | 112° – 113°F | 80° – 81°F | 88°F |
| White Chocolate | 104° – 112°F | 80° – 81°F | 86° – 87°F |
Steps for Tempering
The process for tempering chocolate is below:
- Initial Heating of Chocolate
With your chocolate in your heat proof bowl, warm the water over low heat. You do not want to boil and the goal is to avoid a lot of steam (water is the enemy of chocolate, and that includes steam). Stirring constantly with your rubber spatula, melt chocolate to the “Initial Heat Temp” range listed above. Check the exact temperatures using a digital thermometer.
- Cooling Chocolate
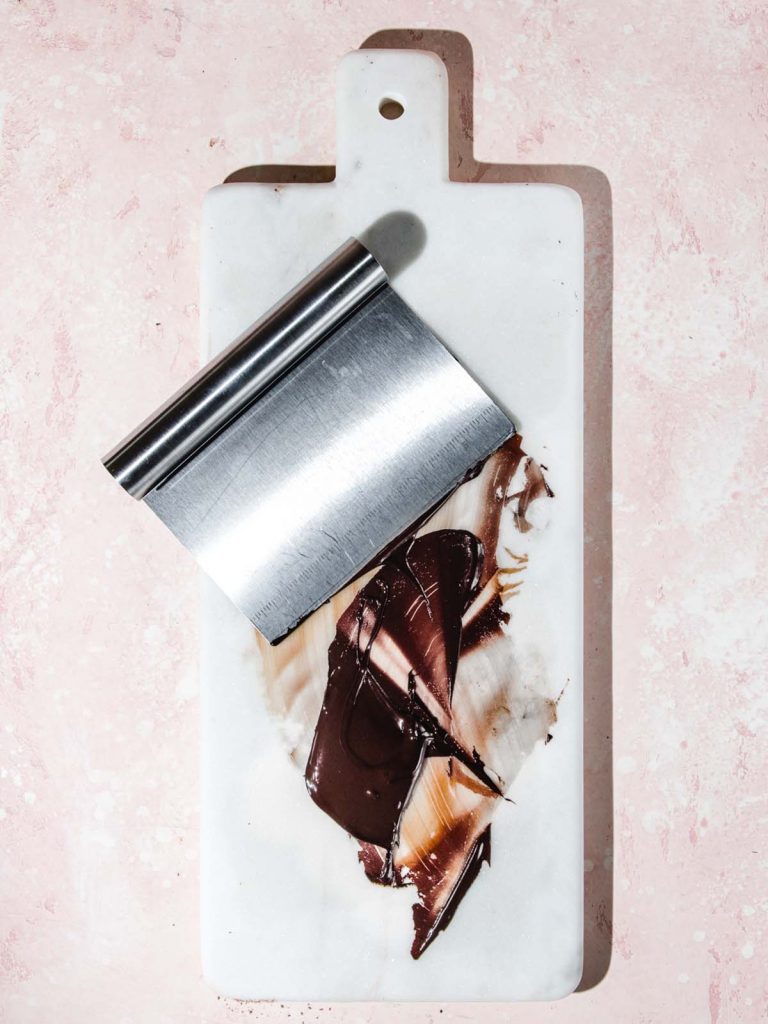
Once the chocolate reaches the correct temperature, remove from the bowl and pour onto your marble slab or countertop. Using you bench scraper, push and move the chocolate around in swirls to cool it quickly to the “Cool Temp” in the chart above.
The trick is to keep control of the chocolate. Swirl it away to let it cool, but wrangle it back in together so you don’t end up with a mess. Keep it moving constantly, eventually you will get a good groove going. Check your temperature frequently with the digital thermometer. - Reheating Chocolate
Now cooled to the right temperature, return the chocolate to the heat-proof bowl and double-boiler. With the heat on low again, warm the chocolate just to the “Final Heat Temp” from the chart. At this point, your chocolate should be tempered and ready to remove from the heat!
- Testing
To test, dip the back of the spoon gently into the chocolate. Let sit undisturbed for about a minute, it should be set at this time – shiny and hard. After a few seconds, you should start to see the chocolate set. If it’s not shiny and hardened after 5 minutes the tempering didn’t work, and time to try again. Simply repeat the process above, heating to the “Initial Heat Temp” and continuing onward. As long as you don’t overheat, or burn, your chocolate, you can repeat this process over and over.
What to do with Tempered Chocolate
Now that you have tempered chocolate, now what? If you want to get ambitious, you can buy a set of candy molds and go to town. A few non-equipment options?
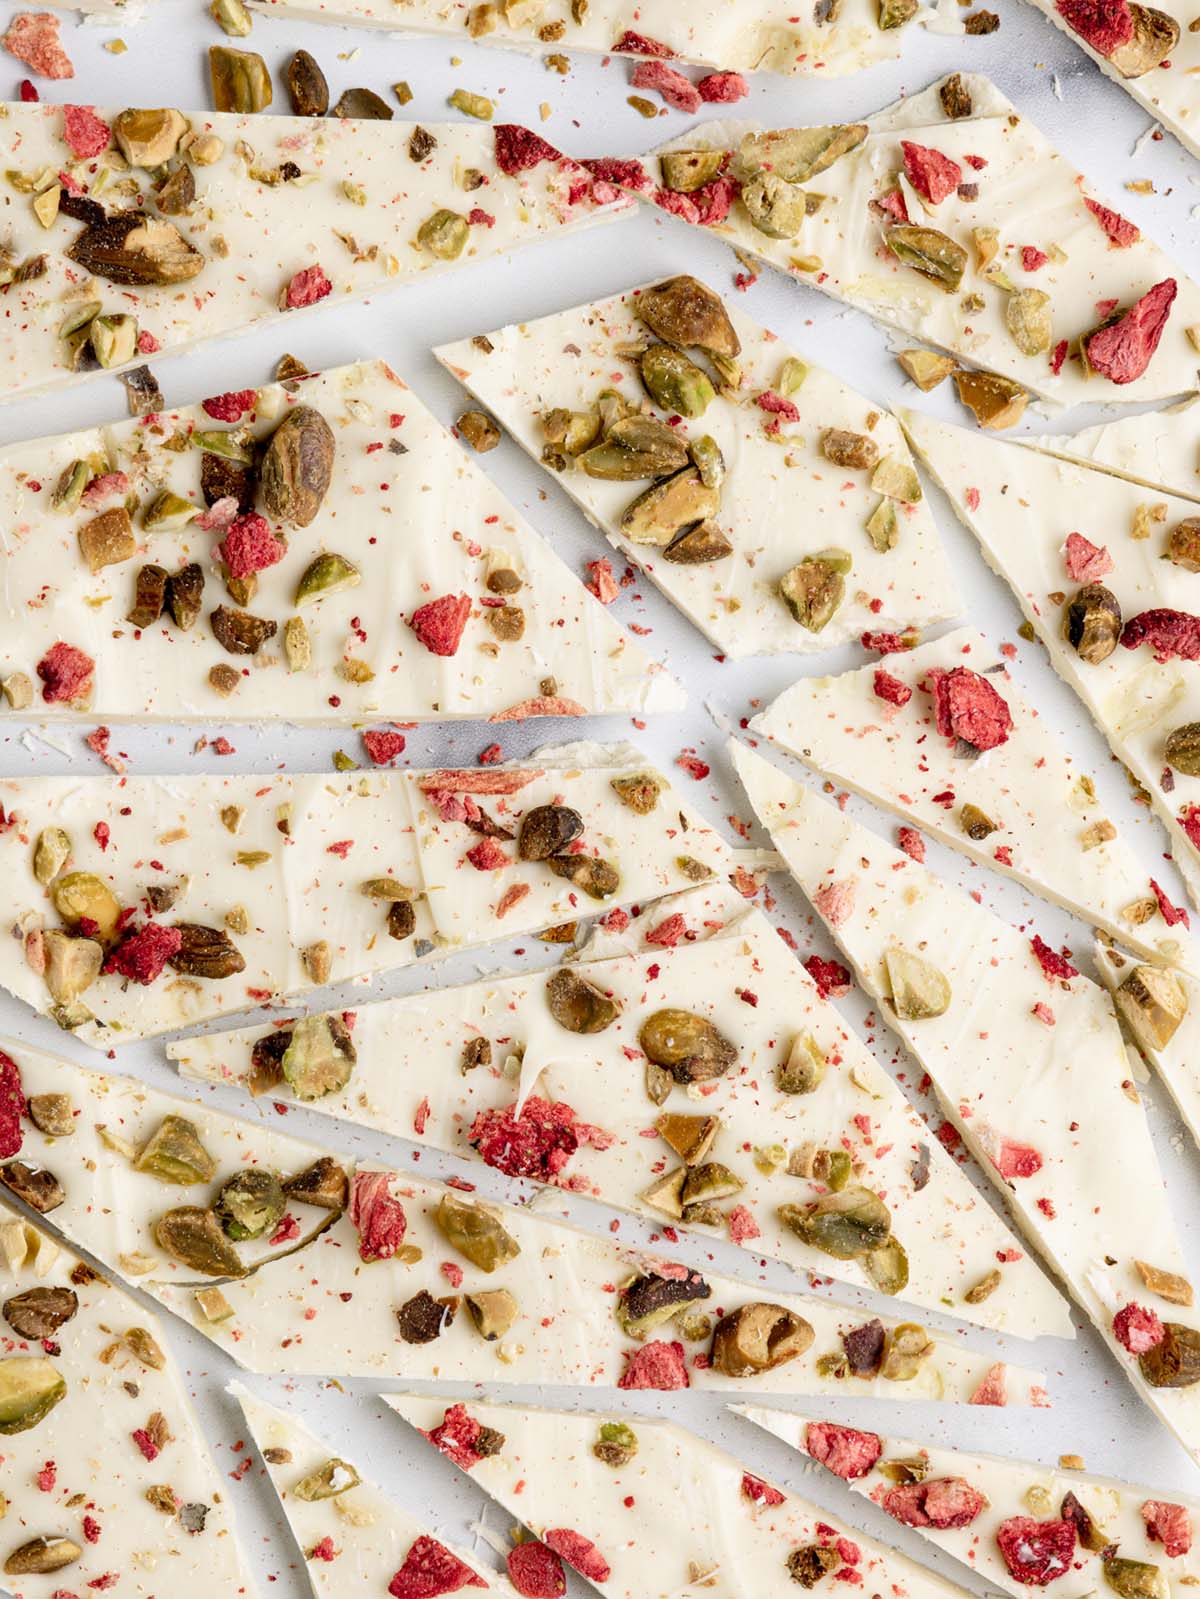
- Make a chocolate bark, like this Pistachio White Chocolate Bark.
- Stir in unfrosted cornflakes. Drop spoonfuls on a sheet pan and let cool. Trust me, they are addictive.
- Drip pretzel rods and sprinkle desired toppings
- Make a pipable ganache. Pipe a 1/2″ wide log and paint the tempered chocolate on the sides using a pastry brush. Once cooled, slice into 1″ wide pieces.
- Try these Coconut Macaroons with Chocolate and Almonds
What to do with extra chocolate? If you have any left over, allow “clean” chocolate to cool, and store wrapped in plastic or an air-tight container and store in the pantry. When you need to temper again, finely chop the chocolate and begin the process from the beginning.
Now that you have this down, be ready to impress!

