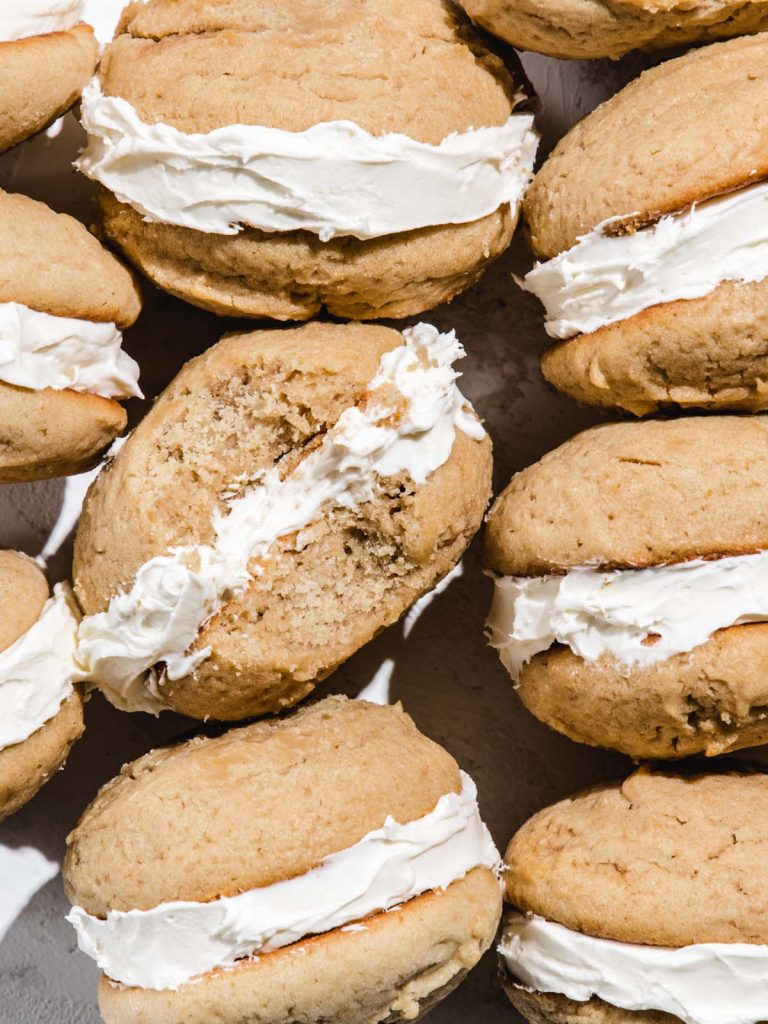
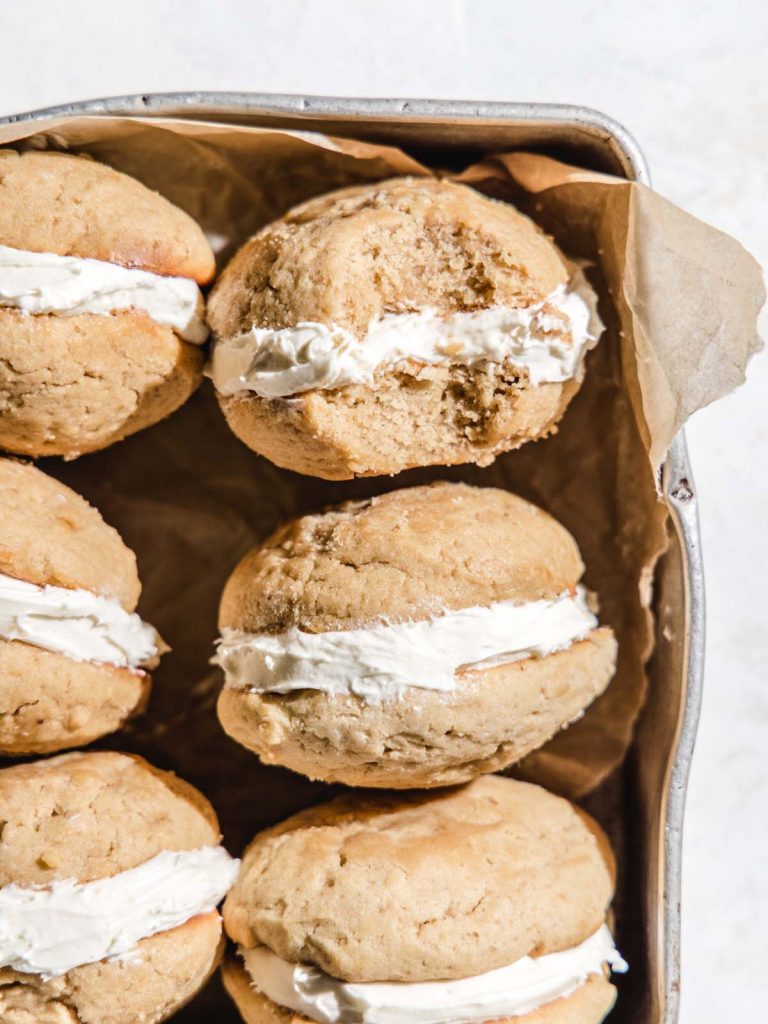
Fluffy marshmallow filling is sandwiched between two soft peanut buttery cakes to create a heck of a throwback food memory in these fluffernutter-aka-Peanut Butter Whoopie Pies.

Remember your childhood when a perfectly respectable lunch was white bread, peanut butter and marshmallow creme, or more commonly known, fluffernutter sandwich?
Ok, maybe I wouldn’t eat that as a lunch these days as I’m in my mid-ish 30s, but there’s nothing stopping me from justifying it as a dessert. Enter these peanut butter whoopie pies with a marshmallow filling.
What are Whoopie Pies?
Whoopie pies are one of my favorite underrated desserts. I don’t know why whoopie pies don’t get more love. They’re like an inside-out cupcake. Instead of a pile of icing on top, here the icing is piled in the middle of two cookie-shaped cakes. You can see a more classic chocolate whoopie pie version here!
It makes them a lot easier to shove in your face cleanly, plus you don’t have to have a special carrier for them. I love this easy, go-to option for gatherings where I don’t want a messy dessert to cut or serve.
In our case, we will be making peanut butter whoopie pies with peanutty cakes with a marshmallow creme based icing as our filling. The process to make these are the same as making a traditional cake, the only difference is the baking process.
Instead of pouring a cake batter into a tin to bake, our stiffer batter will be scooped with an ice cream scooper and baked on a sheet pan. Because they are so small, they bake quickly while maintaining their soft and pillowy texture.
How to Make Whoopie Pies
We are going to first mix our butter and sugar until thoroughly lighter in color and texture. This is called creaming the butter and sugar and is one of the most important steps in baking.
Devote a good 5-7 minutes to this to really achieve light and fluffy butter if you want light cake. Next, mix in the peanut butter before adding the egg and vanilla.
Next, we are going to alternate adding our dry ingredients and milk. In a small bowl, whisk together your dry ingredients. Add 1/3 of flour mixture to the batter. Once almost incorporated, add 1/2 of the milk. Repeat with another 1/3 of the flour, then the remaining 1/2 of the milk and the final 1/3 of the flour.
We will go back and forth to ensure that our mixture doesn’t get overworked and tough or split by adding too much liquid at once. It’s a few extra steps that I always do when making light cakes.
Fluffternutter Filling
After baking scoops of cake batter on our sheet pan, we’re going to fill them with the indulgent part. With a marshmallow creme base, we’re going to add a buttercream of softened butter and a little confectioners’ sugar.
The filling will taste of marshmallow creme, but still be sturdy enough to support our peanut butter cakes. Evenly distribute between one side of the peanut butter cakes using a knife or piping tip if you feel like being fancy (but not mandatory), and top with another half. To quote my queen Ina Garten, “How easy is that?”
Looking to keep the fluffernutter theme rolling? Give this PB & J Pavolva a try too, with a baked marshmallow base and peanut butter topping.
Helpful Tools
These are very simple, the only “speciality” item used is below!
- I used a classic ice cream scoop to easily portion out the cake pieces like this one

Peanut Butter Whoopie Pies
Ingredients
Peanut Butter Whoopie Pie
- 300 g all-purpose flour
- 2 teaspoons baking powder
- ½ teaspoon salt
- 113 g unsalted butter room temperature
- 100 g granulated sugar
- 53 g light brown sugar packed
- 203 g peanut butter
- 1 large egg room temperature
- 1 teaspoon vanilla extract room temperature
- 1 cup whole milk room temperature
Marshmallow Filling
- 396 g marshmallow creme about 2-7oz containers
- 226 g unsalted butter room temperature
- 112 g confectioners’ sugar sifted
- 1 teaspoon salt
Instructions
- Peanut Butter Whoopie Pies: Preheat oven to 400°F. Line two baking pans with parchment paper and set aside.
- Whisk together flour, baking powder and salt in a small bowl.300 g all-purpose flour, 2 teaspoons baking powder, 1/2 teaspoon salt
- In the bowl of a stand mixer, or large mixing bowl with handheld mixer, combine butter and both sugars. Mix on medium-high until light and fluffy, about 5-7 minutes. Scrape down the sides of the bowl as needed. Add peanut butter and mix on medium-high until fully incorporated, 1-2 minutes.113 g unsalted butter, 100 g granulated sugar, 53 g light brown sugar, 203 g peanut butter
- Add egg and vanilla, mix on low to combine. Continue to scrap the bowl as needed.1 large egg, 1 teaspoon vanilla extract
- Alternating between dry ingredients and milk, add 1/3 of the flour mixture, mixing on low until nearly incorporated. Add 1/2 of the milk, and repeat until until everything is combined. Mix the last few times by hand with a rubber spatula. Batter will be slightly stiff.1 cup whole milk
- With an ice cream scoop, add scoops of cake batter to prepared parchment, leaving 2-3″ between each scoop.
- Bake for 12-14 minutes until set and a toothpick comes out clean. Allow to cool to touch on pans, then transfer to a cooling rack to cool completely.
- Marshmallow Filling: While cakes are baking, prepare filling. Add butter to a large bowl and whip until fluffy. Add marshmallow creme, mix until incorporated. Slowly add confectioners’ sugar and salt, increasing speed once sugar is incorporated. Whip until fluffy.396 g marshmallow creme, 226 g unsalted butter, 112 g confectioners’ sugar, 1 teaspoon salt
- Once cakes are fully cooled, spread filling on one flat side of a cake and top with another. Squish gently to hold together.
Notes
Disclaimer: We test all recipes using the metric weights shown, we cannot guarantee outcomes when switching to US measurements.

